
-
 Dave Vinke
- Leestijd: 5 min
- Laatst geüpdatet: 15/10/2025

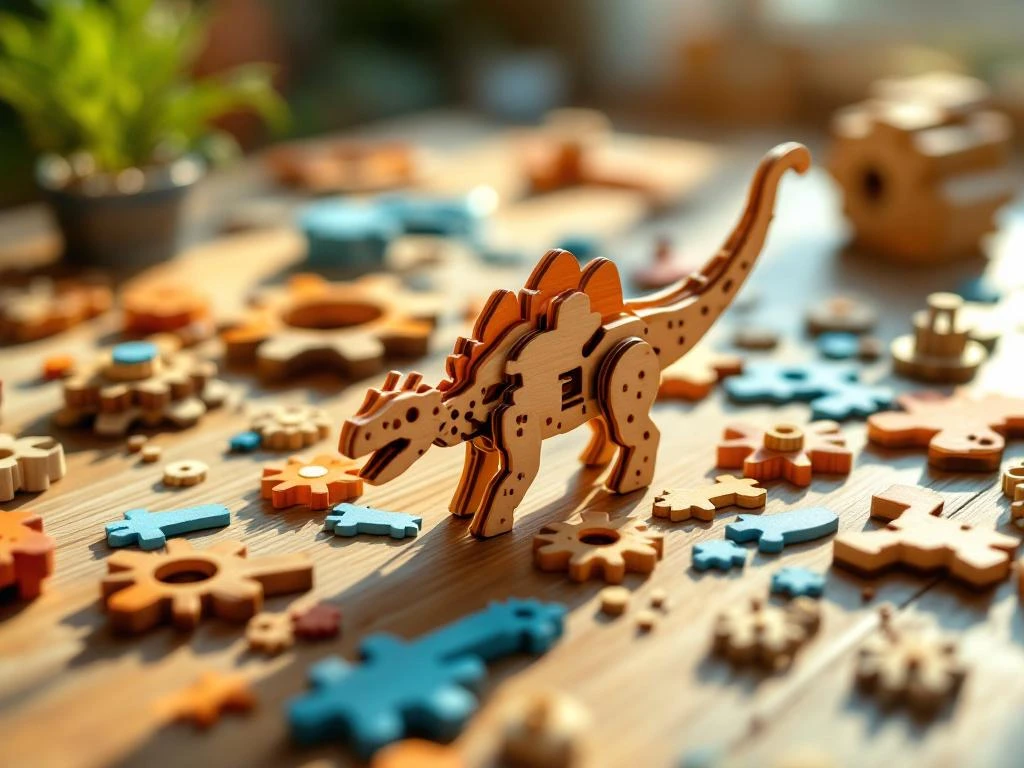
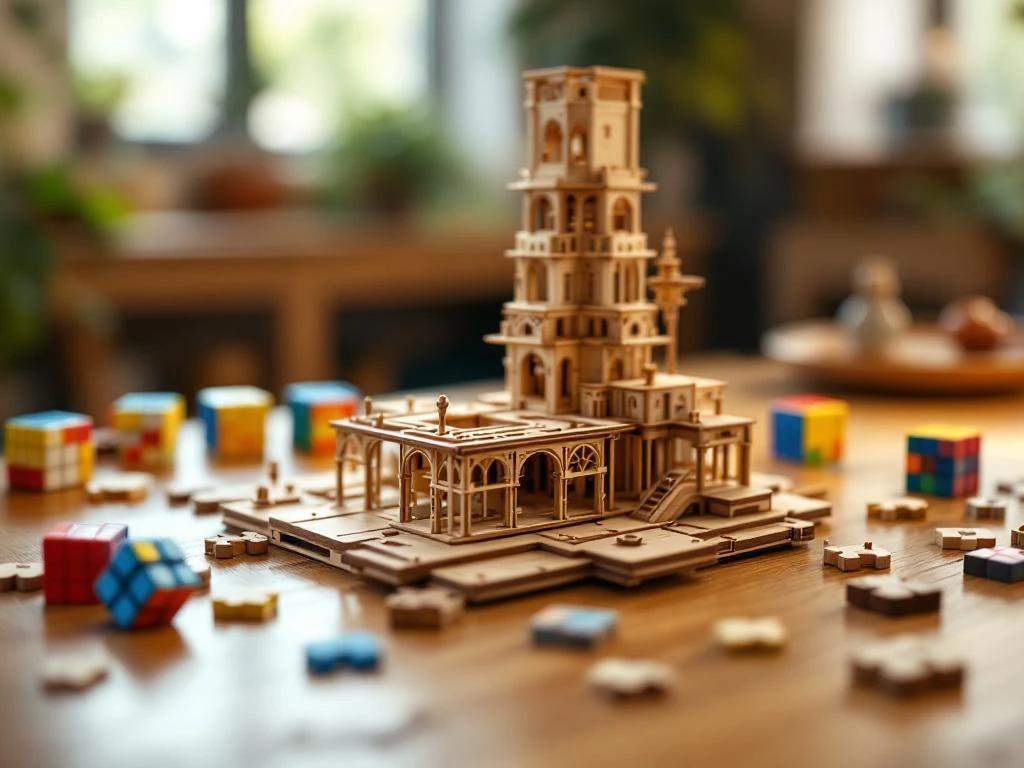
When working with wooden construction kits, hobbyists often make the same mistakes: starting too hastily without reading the instructions properly, using the wrong tools, and applying too much force which breaks delicate components. These mistakes lead to frustration and damaged models. With proper preparation and techniques, you can prevent most problems and enjoy the building process much more.
Why do wooden construction kits often go wrong for beginners?
Beginners make three main mistakes with wooden construction kits: skipping instructions, choosing wrong tools, and wanting to work too quickly. These mistakes often arise from impatience and underestimating the precision that model building requires. The result is usually a damaged model and much frustration.
Not thoroughly reading the instructions is the biggest pitfall. Many people think they understand after a quick glance, but wooden construction kits often have specific sequences and techniques. A wrong sequence can mean you can’t reach components later or that connections don’t fit properly.
Haste is another common cause of problems. Beginners often want to see quick results and force connections that don’t fit immediately. Wood needs time to adjust to glue and tension. By forcing, thin components break or cracks develop that remain visible later.
Wrong expectations also play a role. Many beginners expect a wooden construction kit to be as simple as plastic model building. However, wood is a natural material that reacts differently and requires more patience and finesse during the building process.
Which tool mistakes make building unnecessarily difficult?
Wrong tools make building wooden construction kits unnecessarily frustrating. Blunt tools, oversized cutting pliers, and missing aids like sandpaper cause damage to components. The right tools save time and prevent damage to your model.
A blunt craft knife or cutter is one of the biggest problems. Blunt tools require more pressure, causing you to lose control and damage components. A sharp knife cuts cleanly through the wood without tearing or splintering. Replace your blades regularly for the best results.
Oversized cutting pliers are also problematic with fine components. Always use small, sharp cutting pliers that can get precisely to the cutting line. Large pliers leave awkward stubs that you have to rework later, meaning extra work and chance of damage.
The absence of sandpaper in different grits is a commonly made mistake. Fine sandpaper (220-400 grit) is essential for smoothing roughly cut edges. Coarse sandpaper damages the wood more than it helps.
A good cutting mat not only protects your table but also ensures better cutting results. A hard surface gives more control than cutting on a soft surface that gives way under pressure.
How do you prevent damage to delicate wooden components?
You protect delicate wooden components through careful handling, proper gluing techniques, and protection during work. Use minimal force, work with clean hands, and store components safely. Thin parts are extra vulnerable to breakage from tension and wrong pressure.
Handling is crucial with thin components. Always grip them at the thickest parts and avoid pressure on long, thin protrusions. Lay components flat instead of upright, so they can’t fall over and break.
When gluing, less is often more. Too much glue causes overflow that can discolor the wood or damage other components. Use a toothpick or thin brush to apply glue exactly where needed. White wood glue is usually the best choice because it dries transparent.
Protect your work during building by placing a soft cloth or foam under the model. This prevents scratches and gives support to delicate components. Always work above a clean surface so fallen components don’t get damaged.
Respecting drying time is essential. Don’t touch freshly glued connections until the glue has fully cured. Most wood glues need 30 minutes to several hours, depending on humidity and temperature.
What are the best tips to prevent frustration in model building?
You prevent frustration by working patiently, having realistic expectations, and maintaining a good workspace. Plan sufficient time, accept that mistakes are part of learning, and ensure good lighting and organization. A relaxed attitude makes the difference between pleasure and stress.
An organized workspace is fundamental. Ensure sufficient space, good lighting, and containers to store small components. A tidy workplace helps you stay focused and prevents components from getting lost or damaged.
Set realistic expectations. Your first wooden construction kit probably won’t be perfect, and that’s normal. Every mistake is a learning moment that makes your next project better. Start with simple models before tackling more complex projects.
Plan your building sessions well. Work shorter sessions of an hour rather than long marathons where you get tired and make mistakes. Stop when you notice you’re becoming impatient or starting to make errors.
For those serious about getting started with model building, it’s wise to invest in quality tools and try different difficulty levels. A good wooden construction kit not only provides hours of building pleasure but also develops your skills and patience.
Don’t forget that model building is a hobby that should bring relaxation. If you notice you’re getting frustrated, put the project aside and return to it later. Often you’ll then see solutions you previously overlooked, and work with fresh energy on your model.
Frequently Asked Questions
How long does it take on average to complete a wooden construction kit?
Building time varies greatly per model and experience, but count on 8-15 hours spread over multiple sessions for an average construction kit. Beginners often take longer because they work more carefully and spend more time understanding the instructions. Plan more time rather than less - haste leads to mistakes.
What should I do if a component breaks during building?
Stop building immediately and assess the damage calmly. Small breaks can often be repaired with wood glue, but let this dry for at least 24 hours. For serious damage, you can contact the manufacturer - many suppliers send free replacement parts. Keep all components until your project is finished in case you need spare parts.
Which wood glue is best for construction kits and how much do I need?
White PVA wood glue (like Bison or Pattex) is ideal because it dries transparent and bonds strongly. A small 50ml bottle is usually sufficient for 2-3 average construction kits. Avoid super glue because it dries too quickly and leaves no room for corrections, and don't use all-purpose glue that can discolor the wood.
Can I fix mistakes after the glue has dried?
Yes, but this requires patience and the right technique. Gently warm the glue connection with a hair dryer to soften the glue, then slowly work the component loose. This works best within 24 hours of gluing. For older connections, you can use a drop of warm water to dissolve PVA glue, but this can damage the wood.
How do I store my wooden construction kit during building when I stop in between?
Store your project in a dry room at room temperature, preferably in a box or under a cloth to prevent dust. Lay delicate components flat and use small containers for loose parts. Avoid humid spaces like basements or attics, as moisture can cause wood to expand and weaken connections.
Should I treat my completed model with varnish or oil?
This is optional but recommended for long-term protection. A thin layer of matte acrylic varnish protects against dust and moisture without changing the natural wood color. Only apply this after all glue connections have fully cured (minimum 48 hours). Use a soft brush and work in thin layers for the best result.
Which common mistakes can I best avoid in my next building project?
Focus on three main points: always read the complete instructions before starting, test-fit components first without glue to check if they fit, and work in a well-lit space with all necessary tools within reach. Take photos of complex steps before taking them apart - this helps enormously when reassembling.
Table of contents
Much viewed


More blogs