
-
 Dave Vinke
- Leestijd: 5 min
- Laatst geüpdatet: 15/10/2025

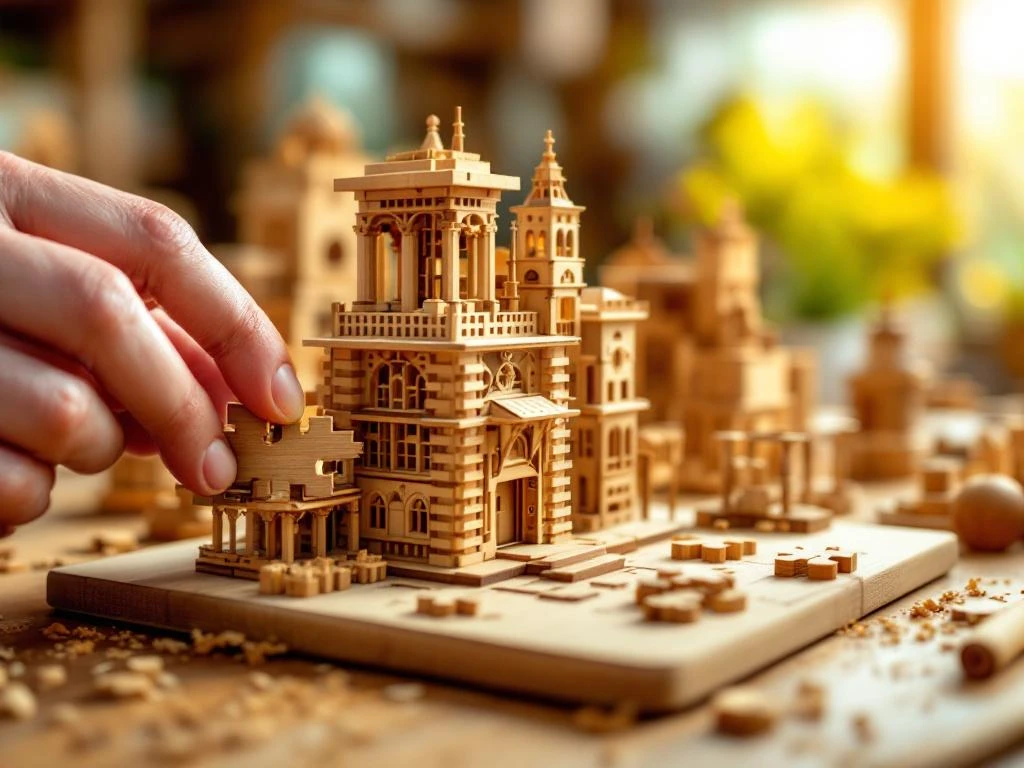
A wooden building kit is a collection of pre-cut wooden components that you can assemble into a complete model. For beginners, these building kits offer an accessible way to develop model-making skills without expensive tools or complex techniques. Wood is forgiving with mistakes, natural to work with, and delivers a satisfying end result that you can proudly display.
What is a wooden building kit and why do beginners choose it?
A wooden building kit consists of pre-laser cut or pre-cut wooden components that you assemble according to instructions into a functional or decorative model. The parts are usually contained in sheets from which you carefully press them out, similar to plastic model kits but made from natural wood.
Beginners often choose wood because it’s much more forgiving than other materials. Make a gluing mistake? Wood can often still be corrected. Is a component not sitting quite straight? You can usually adjust it with sandpaper. This flexibility gives beginners the confidence to experiment without fear of irreversible errors.
Working with wood also has unique educational value. You learn about wood structure, gluing techniques, and precise craftsmanship. Moreover, wood is sustainable and environmentally friendly, making it a responsible choice. The natural material gives your project a warm, authentic appearance that plastic models often lack.
What tools do you need for your first wooden building kit?
For your first wooden building kit, you only need a few basic tools: wood glue, fine sandpaper (240-400 grit), a small file, and a craft knife. These essential tools cost less than $25 together and are sufficient for most beginner projects.
Wood glue is the most important tool. Choose white wood glue that dries clear. You use sandpaper to smooth rough edges and make components fit perfectly. A small file helps with refining hard-to-reach places, while a craft knife is handy for cleanly removing components from the sheet.
Optional tools that can improve your building experience include a small clamp to hold components in place while drying, tweezers for small parts, and possibly stain or varnish for finishing. You don’t need to purchase these immediately, but they can be useful later as you gain more experience.
Budget-friendly alternatives can often be found at hardware stores or online. Many building kit suppliers also offer starter sets with all necessary tools, which is often more cost-effective than buying everything separately.
How do you choose the right wooden building kit as a beginner?
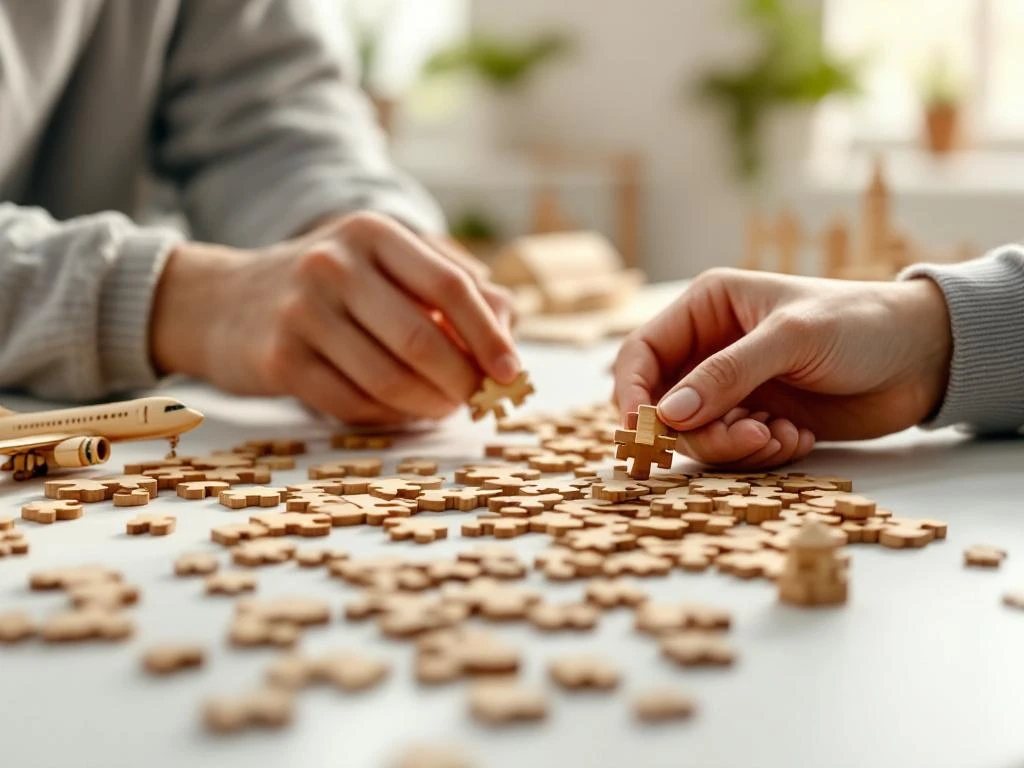
As a beginner, it’s best to choose a simple project with 20-50 components that you can complete in 2-4 hours. Look for building kits with a difficulty rating of 1 or 2 stars and clear, step-by-step instructions with illustrations.
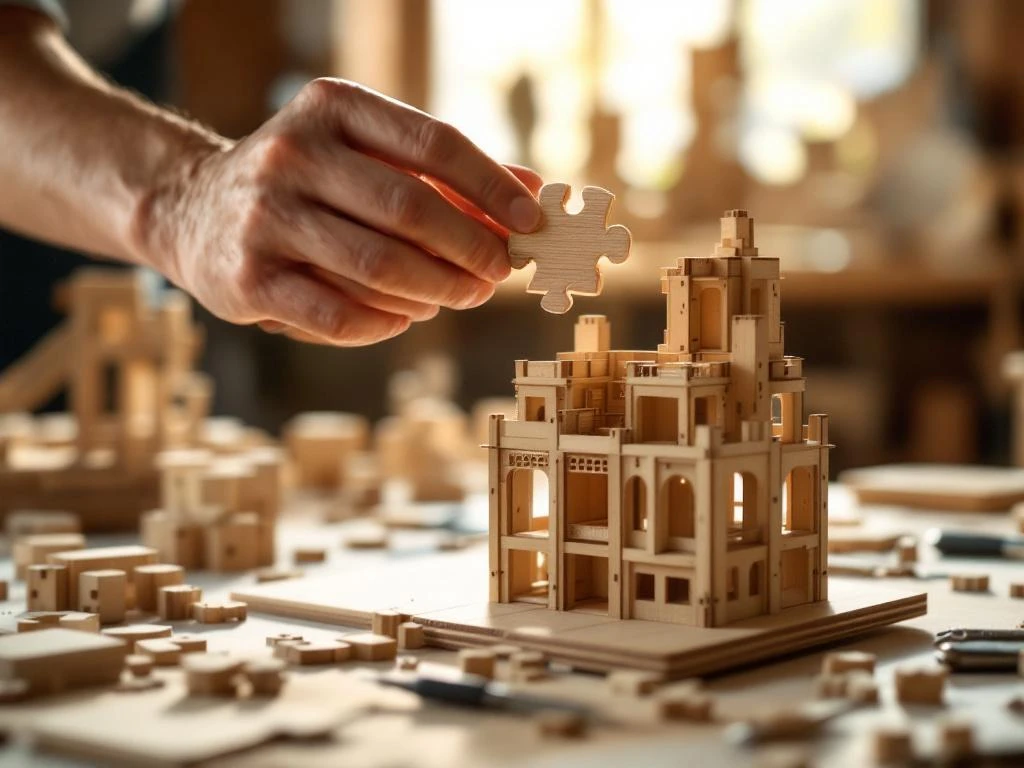
Consider the type of model that interests you. Mechanical models like simple gear constructions teach you about moving parts. Architectural models like houses or bridges focus more on precise gluing and finishing. Functional models like pen holders or small boxes give you an immediately useful end result.
Time investment is also important. Start with projects you can finish in one or two sessions. Long-term projects can become frustrating while you’re still learning. Always check that the kit contains complete instructions, preferably in your language, and that all necessary components are included.
Read reviews from other builders to know what to expect. Good beginner kits have clear instructions, well-fitting components, and an end result you can be proud of.
What common mistakes should you avoid in wooden model building?
The biggest beginner mistake is working too quickly and skipping instructions. Take time to read and understand each step thoroughly before you start gluing. Once glued, mistakes are difficult to fix, so rushing is counterproductive.
Incorrect gluing techniques cause many problems. Don’t use too much glue, as excess glue drips from joints and can damage other components. Apply glue only to contact surfaces and press components together firmly but gently. Always give glue sufficient time to dry before continuing.
Forcing components is another common mistake. If something doesn’t fit, don’t force it. Check that you have the right component and that the orientation is correct. Use sandpaper if necessary to improve the fit. Forcing often leads to broken components or misaligned connections.
Don’t forget to organize your workspace well. Sort components beforehand and keep tools within reach. A messy workspace leads to mistakes and frustration. Work in good light and take regular breaks to stay focused.
Where can you find the best wooden building kits and what are the benefits?
The best wooden building kits can be found at specialized stores that focus on model building and hobby products. These suppliers usually have a wide assortment, expert product descriptions, and good customer service to help you make the right choice.
Look for suppliers that provide clear product information about difficulty level, required time, and final dimensions. Good stores also offer extensive product photos and sometimes even instructional videos. Always read product reviews from other customers to get a realistic picture of what to expect.
Material quality is crucial. Good wooden building kits use laser-cut components that are precisely cut and fit together well. Cheap alternatives often have poorly fitting components or unclear instructions, which can spoil your building enjoyment.
Customer service is also important, especially as a beginner. Choose suppliers who can advise you about suitable tools and techniques. Fast delivery and a good return policy provide additional security with your purchase.
For a comprehensive overview of available options, you can look at model building products or specifically at wooden building kit variants that are suitable for different levels and interests.
The success of your first wooden building kit depends on proper preparation, patience, and choosing a project that matches your current skills. Start small, learn from each step, and enjoy the satisfying feeling when you complete your first self-built wooden model. With the right approach, model building becomes a hobby that can give you years of enjoyment.
Frequently Asked Questions
How long does it take for wood glue to fully cure?
Wood glue usually needs 30-60 minutes to cure sufficiently for further work, but complete curing takes 24 hours. Plan your building sessions accordingly and allow sufficient drying time between steps. For complex connections, it's best to wait a day before putting stress on the glue joint.
What do you do if a component breaks during building?
Broken components can usually be repaired with wood glue and some patience. Apply glue to both fracture surfaces, press gently together, and let dry for 24 hours. For small components, you can use toothpicks as reinforcement pins. If the component can't be repaired, contact the supplier - many offer replacement parts.
Can I paint or stain a wooden building kit for a different color?
Yes, wooden building kits can be excellently treated with stain, varnish, or paint. First lightly sand the completed model with fine sandpaper (400 grit) and then apply a thin coat. Water-based stains give a natural appearance, while acrylic paint offers more color options. Always test first on a scrap piece of wood.
How do you best store an unfinished wooden building kit?
Store unfinished projects in a dry room at room temperature. Put all components back in the original packaging or use a closed box to keep out dust and moisture. Wood can shrink or expand with temperature changes, so avoid attics or basements. Make sure the instructions stay with the project.
Are wooden building kits suitable for children and from what age?
Wooden building kits are suitable for children from about 8-10 years old, depending on complexity and motor skills. Young children need supervision when using craft knives and glue. Choose simple models with large components and ensure good ventilation during gluing. Many manufacturers indicate a recommended age.
What is the difference between laser-cut and die-cut wooden components?
Laser-cut components have smooth, precise cutting edges and usually fit together perfectly without post-processing. Die-cut components may have slightly rough edges and sometimes require light sanding for optimal fit. Laser-cut building kits are more expensive but more user-friendly for beginners, while die-cut kits are more affordable but require somewhat more craftsmanship.
Table of contents
Much viewed


More blogs