

-
 Dave Vinke
- Leestijd: 5 min
- Laatst geüpdatet: 29/08/2025
Advanced model building techniques combine precision tools, realistic detailing methods and systematic planning. You need professional equipment like airbrushes, precision instruments and specialist paint products. Additionally, weathering techniques, project planning and avoiding common mistakes are essential for achieving the best results.
Which tools make the difference in advanced model building?
Professional tools determine the quality of your final result more than you might think. An airbrush system with compressor delivers perfect paint finishes that are impossible to achieve with brushes. Precision instruments like photoetch benders, pin vices and various grades of sandpaper help you create details that elevate your model from amateur to professional standard.
For adhesive work, you’ll make a real difference with specialist glues. Plastic cement works differently from superglue and is perfect for strong, invisible joints. CA glue (cyanoacrylate) in different viscosities gives you control over drying time and penetration. Use epoxy adhesive for heavy-duty connections that need to withstand stress.
Your paint equipment goes beyond just paint. Primers ensure good adhesion, topcoats protect your work and weathering products like washes and dry brushing paints create realistic effects. Invest in quality paints that mix well and provide even coverage.
Detailing tools make all the difference in the finish. Different brushes for specific techniques, weathering tools for realistic wear and small files for perfect fit. A good cutting mat and replaceable blades keep your work neat and safe.
How do you achieve perfect details and realistic finishing?
Weathering techniques bring your model to life by adding realistic wear and aging. Drybrushing highlights raised areas by brushing nearly dry paint across surfaces. Washes allow dark paint to flow into recesses for shadow effects and detail enhancement.
Always start with a good foundation. Your base paint must be completely dry and smooth before applying weathering. Test new techniques first on spare pieces to understand the effect. Build up effects gradually, as you can always add more but removing is much harder.
Different materials require different approaches. Metal surfaces need different weathering than fabric or leather. Study reference photos to understand how different materials actually wear and discolour.
Highlighting techniques add depth to your model. Light accents on edges and raised areas create dimension. Use subtle colour variations to generate interest without being overdone. A good rule is that weathering should enhance the model, not dominate it.
What are the most common mistakes in advanced model building?
Over-detailing is the biggest pitfall for experienced modellers. You want to apply everything possible, but this can disrupt the overall appearance. Less is often more – deliberately choose which details to emphasise and which to keep subtle.
Wrong paint sequence ruins many projects. Primer must be completely dry before applying base coat. Remove masking tape while the paint is still slightly soft to get clean lines. Plan your painting steps ahead and account for drying times.
Poor preparation costs you significant time later. Not cleaning parts properly, not removing sprue gates or not smoothing seam lines. These basic steps determine how professional your final result looks, regardless of how much effort you put in later.
Impatience during drying is a common mistake. Paint that looks dry may still be soft underneath. Forcing drying times with heat can cause cracks or poor finish. Plan your project so you always have other parts to work on while something dries.
How do you plan complex model building projects effectively?
Large projects require systematic planning to be successful. Start by thoroughly reviewing the instructions and identify critical steps where mistakes are costly. Create a timeline that accounts for drying times, delivery times for extra materials and your available time.
Material preparation prevents frustration during building. Check you have all required paints, adhesives and tools before starting. Organise small parts in labelled containers. Prepare all components by washing them and removing sprue gates.
Divide the project into logical phases. For example, complete all cockpit details before closing the fuselage. Finish base paintwork before starting weathering. This approach prevents having to work on hard-to-reach areas later.
Track your progress with photos and notes. This helps you identify problems and remember successful techniques for future projects. Document which paints and techniques you used for consistency if you want to make adjustments later.
Where do you find the best materials and inspiration for your next project?
Quality materials make the difference between good and excellent results. Look for suppliers specialising in professional model building products with a wide range. Online communities and forums provide honest reviews of new products and techniques.
Find inspiration in museums, historical photos and other modellers’ work. Social media groups show different approaches to the same subject. Model building magazines often contain step-by-step articles with new techniques you can apply.
Reference material is essential for realistic models. Collect photos from different angles and lighting conditions. Notice details like wear patterns, colour variations and how different materials react to weather and use.
With us you’ll find an extensive model building range with everything you need for your next project. We offer automatic discounts on multiple items, so you get better value when ordering different materials together. Check our discount rules to see how you can make the most of our price advantages. This helps you put together a complete package for ambitious projects within budget.
Frequently Asked Questions
How long should I wait between different paint layers on complex projects?
For most acrylic paints, wait at least 2-4 hours between coats, but for weathering techniques 24 hours is safer. Always test with your fingernail whether the paint is truly hard before proceeding to the next step. In high humidity or low temperatures this may take longer.
Which airbrush compressor is best for beginners in advanced model building?
Choose a compressor with at least a 3-litre tank and automatic pressure switch between 3-4 bar. Brands like Revell, Harder & Steenbeck or Iwata offer good entry-level models. Avoid oil-free compressors under £150, these often break quickly with intensive use.
How do I prevent my weathering effects from looking overdone or unrealistic?
Always start subtle and build up gradually - you can always add more. Use reference photos of real vehicles or objects in similar conditions. Test new techniques first on spare pieces or hidden parts of your model.
What do I do if my paintwork fails and I need to start over?
Let the paint fully cure (48-72 hours), then carefully sand with fine sandpaper (600-800 grit) until the primer shows through. Clean thoroughly with alcohol and apply a fresh primer coat. Analyse what went wrong to prevent repetition.
How do I best store my mixed paints and weathering products?
Always seal containers properly and store at room temperature, away from direct sunlight. Add a drop of thinner to acrylic paints that start to thicken. Use within 6 months of mixing for optimal results, and always label with date and colour code.
What sequence should I follow when detailing a complex model?
Work from inside out: first cockpit/interior, then close and base paint, followed by decals, then weathering and finally small details like aerials. Plan critical glue joints before painting, as some areas won't be accessible later.
How can I improve my techniques without taking expensive courses?
Join local model clubs and online communities where experienced builders share tips. YouTube channels from professionals show techniques step-by-step. Experiment with cheap test models before tackling expensive kits, and document what works for future projects.
Table of contents
Much viewed


More blogs

Which model building influencers should you follow in 2025?

What are the jury criteria in model building competitions?
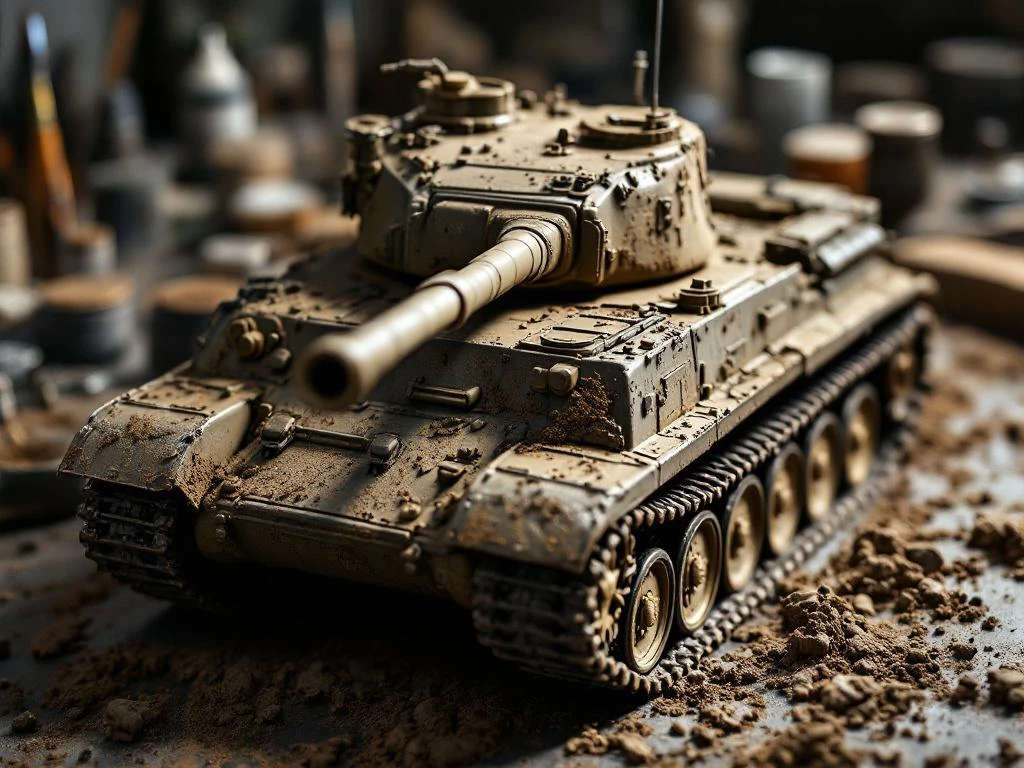
How do you create realistic mud effects on tank models?