
-
 Dave Vinke
- Leestijd: 5 min
- Laatst geüpdatet: 15/10/2025

A wooden building kit is a do-it-yourself project where you assemble a model, puzzle, or functional object from pre-cut wooden components. These kits range from simple animals to complex architectural models and mechanical puzzles. Working with wood offers a satisfying, tactile experience that can be both relaxing and challenging.
What is a wooden building kit and why do people choose them?
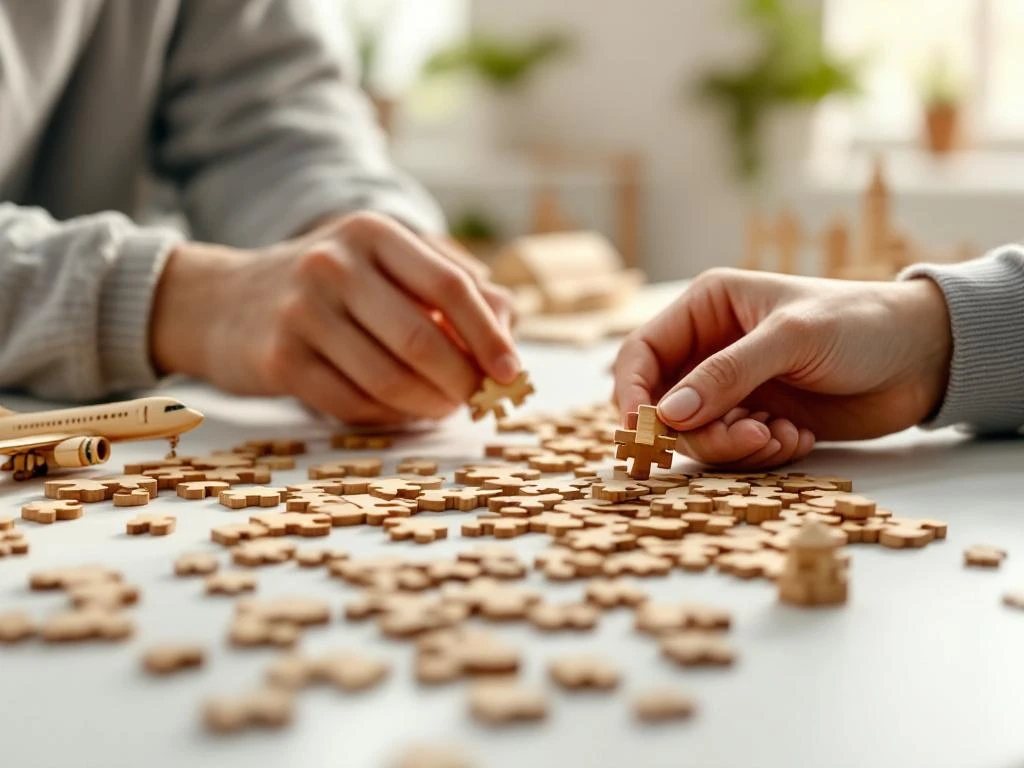
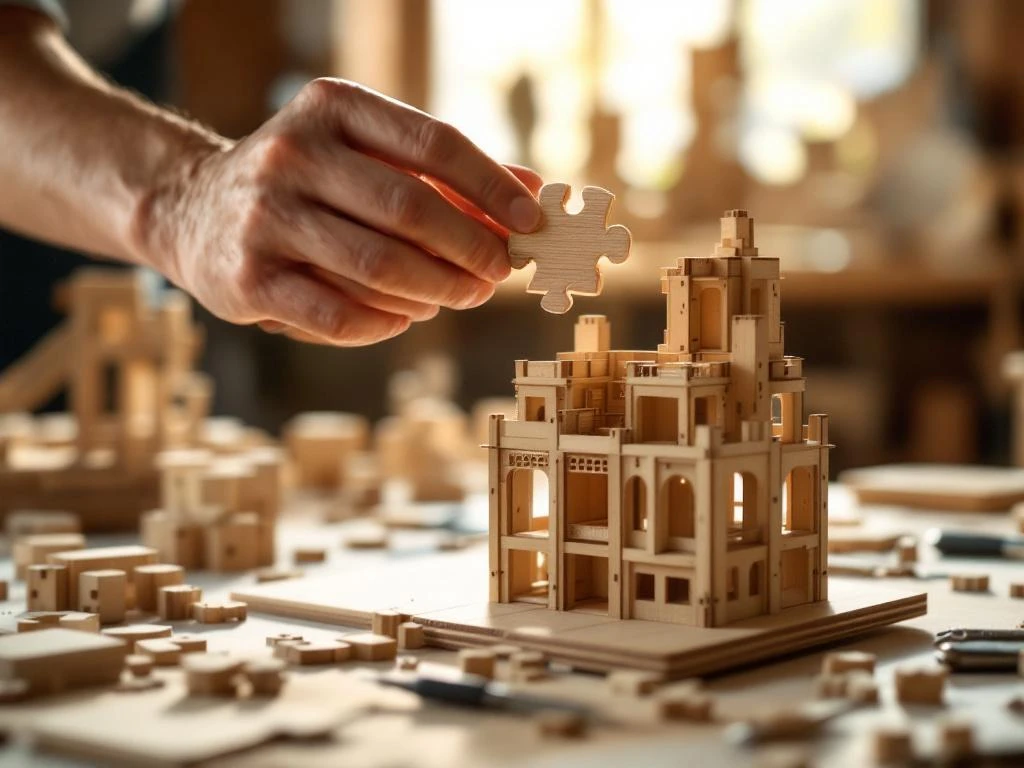
A wooden building kit consists of pre-cut wooden sheets containing all the components you need to build a specific model. These kits usually include everything from small gears to large construction elements, depending on the complexity of the design.
The popularity of wooden building kits stems from several appealing characteristics. Wood is a natural, sustainable material that feels pleasant to touch and has a warm appearance. Unlike plastic models, wooden building kits have an authentic, artisanal look that many people appreciate.
The range is enormously varied. You’ll find simple puzzles that can be completed within an hour, as well as complex mechanical models that can take weeks. Popular categories include animals, vehicles, buildings, clocks, music boxes, and moving mechanisms like gear systems.
People choose wooden building kits because the craftsmanship has a meditative effect. Carefully fitting components together requires concentration and patience, which helps reduce stress. Additionally, completing a project provides a strong sense of satisfaction and pride.
What tools and materials do you need for a wooden building kit?
For most wooden building kits, you only need a few basic tools: fine sandpaper (220-400 grit), wood glue, a sharp hobby knife, and possibly small files. These tools are sufficient for virtually all standard building kits.
Most kits contain all the wooden components you need. Some more complex models also include small metal parts such as springs, screws, or bearings. Glue is almost never included, so make sure you have good wood glue on hand.
For your workspace, you need a flat, well-lit surface. An old towel or newspaper protects your table from glue stains. Ensure you have enough space to sort components and possibly set out small containers to store loose parts.
Optional materials that can make the work easier include: tweezers for small components, a ruler for checking straight lines, and clothespins to hold parts in place while glue dries. For finishing, you can later consider stain, varnish, or oil.
How do you start building your first wooden building kit?
Always begin by thoroughly reading the instructions before removing even one component from the sheet. Study all diagrams and try to understand the assembly sequence. This prevents mistakes that are difficult to fix later.
Next, sort all sheets and identify the different components using the instructions. Many kits have numbered or lettered parts. Only remove components from the sheet when you actually need them, as this prevents losing small parts.
When removing components from the sheet, do so carefully. Use a sharp knife to cut through the connection points and sand the edges smooth with fine sandpaper. Always check that components fit properly before applying glue.
Work step by step according to the instructions and don’t rush. Always let glue joints dry thoroughly before continuing. A common mistake is using too much glue, which leads to stains and poor connections. A thin layer is usually sufficient.
What do you do when components don’t fit properly or are missing?
When components fit too tightly, carefully sand them with fine sandpaper until they fit properly. Never force components, as this can cause breakage. Always test dry (without glue) before permanently gluing.
For components that fit too loosely, you can strengthen the connection by applying a thin layer of glue to both sides and letting it soak in briefly before joining them. For small gaps, it helps to mix some glue with wood dust for a stronger filler.
If components are missing or damaged, contact the supplier. Always keep your receipt and take photos of the problem. Most reliable suppliers send replacement parts free of charge.
For small repairs, you can handle them yourself. Glue broken components with wood glue and clamp them until the glue is dry. For missing small components, you can sometimes make replacements from a piece of wood of similar thickness, but this requires some experience.
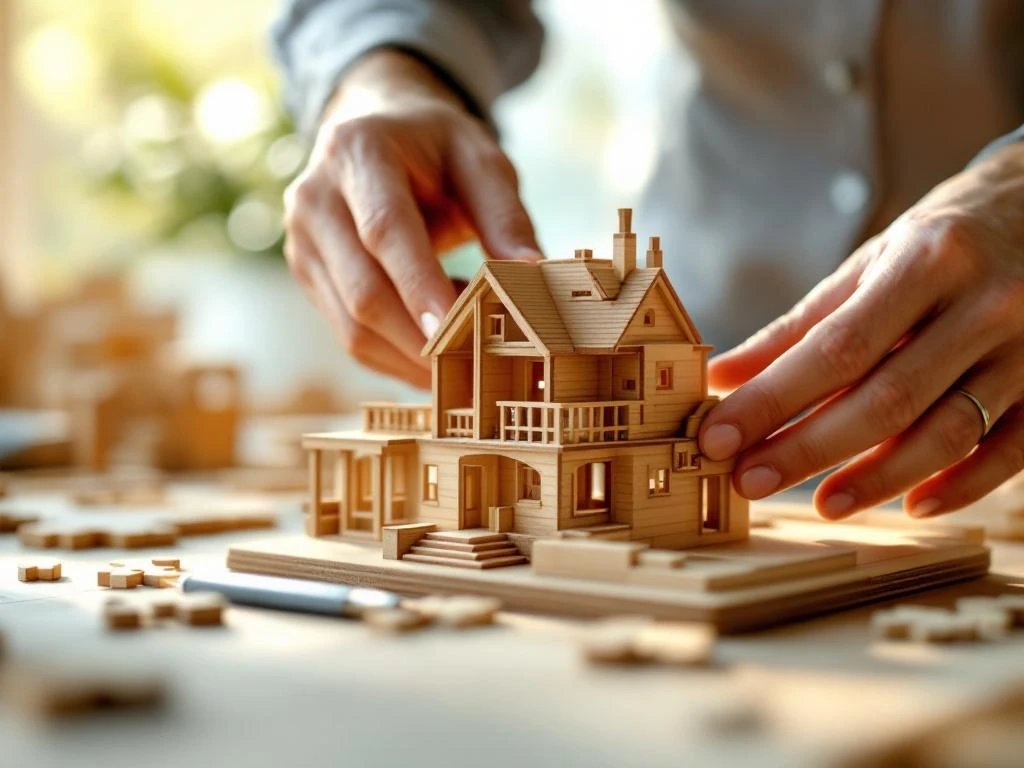
How can you beautifully finish and maintain your wooden building kit?
After building, lightly sand the entire model with fine sandpaper to remove any imperfections. Then thoroughly dust the model with a dry cloth or brush to remove all wood dust.
For finishing, you have several options. Clear varnish protects the wood and preserves the natural color. Stain adds color but keeps the wood grain visible. Paint offers the most color possibilities but completely covers the wood structure. Natural oil nourishes the wood and gives a matte, warm appearance.
When displaying your completed work, choose a location out of direct sunlight to prevent discoloration. A display case protects against dust and damage. For moving models, regularly check that all components still function properly.
Maintenance is minimal but important. Regularly dust the model with a soft cloth. For mechanical models, you can occasionally treat moving parts with a drop of sewing machine oil. Store spare parts in a dry place for possible future repairs.
For those inspired by working with wooden building kits, there’s a world of possibilities to discover. From simple beginner projects to complex mechanical masterpieces, model building offers endless challenges. The specific range of wooden building kits continues to grow with new, innovative designs that can captivate both beginners and experienced builders.
Frequently Asked Questions
How long does it take to complete an average wooden building kit?
This depends greatly on the complexity of the model and your experience. Simple puzzles or animals can be completed within 2-4 hours, while complex mechanical models like clocks or gear systems can take 20-40 hours, spread over several weeks. As a beginner, start with simpler models to get a feel for the material and techniques.
Which wooden building kits are most suitable for beginners?
For beginners, simple animal figures, vehicles without moving parts, or small architectural models are ideal. Look for kits with large components, clear instructions, and minimal use of small, complicated connections. Models with fewer than 50 components are usually manageable for your first project.
Can I fix mistakes if I've glued components incorrectly?
Yes, but this requires patience. Fresh wood glue can often be carefully loosened with a damp cloth and heat. For dry glue, you can try gently heating the connection with a hair dryer and then separating with a thin knife. In some cases, you'll need to remake the component from spare wood, so always work carefully and test dry first.
Are wooden building kits suitable for children, and from what age?
Children aged 8-10 and up can work on simple wooden building kits with supervision. Look for kits specifically marked as child-friendly, with larger components and fewer sharp edges. Young children need help using hobby knives and glue. For children under 8, there are special kits with pre-assembled components that only need to be clicked together.
What's the difference between laser-cut and traditionally cut wooden building kits?
Laser-cut kits have much more precise fit and smooth edges, making them easier to assemble and requiring less finishing work. Traditionally cut kits may have rougher edges that require more sanding but are often cheaper. For beginners, laser-cut kits are recommended due to better fit and clearer components.
How do I best store an unfinished building kit?
Store all components in a dry space, preferably in the original packaging or a closed box. Sort loose components into small bags or containers and label them according to the instructions. Keep the instructions with them and note where you left off. Avoid damp places like basements or attics, as wood can expand and contract, which can affect the fit.
Table of contents
Much viewed


More blogs