

-
 Dave Vinke
- Leestijd: 5 min
- Laatst geüpdatet: 29/08/2025
Professional model photography revolves around three core principles: proper camera settings, good lighting, and thoughtful composition. You use a small aperture (f/8-f/11) for sharp details, soft lighting to avoid harsh shadows, and interesting perspectives to bring your models to life. With the right editing, you can make your photos even better without overdoing it.
What camera settings should you use for model photography?
For sharp model photos, use an aperture between f/8 and f/11, a low ISO value (100-400), and a shutter speed that prevents camera shake. Use single-point autofocus for precision and enable image stabilisation when shooting handheld.
The aperture is your most important setting. At f/8 to f/11, you’ll get the sharpest results across your entire model. A smaller opening like f/16 might seem logical, but diffraction actually makes your photos softer. With larger models, you can use f/5.6 for a nice blurred background.
Keep your ISO as low as possible. In daylight or good artificial lighting, stick to ISO 100-200. In lower light conditions, go to ISO 400, but avoid higher values due to noise that disrupts the fine details of your models.
For shutter speed: use at least 1/60 second when shooting handheld. For macro shots of small details, go to 1/125 second or faster. A tripod gives you the freedom to use longer shutter speeds for optimal sharpness.
Smartphones can also produce good results. Use professional mode if your phone has it. Set focus manually by tapping and holding on the screen. Portrait mode works well for individual models, but not for group shots.
How do you achieve proper lighting when photographing models?
Soft, diffused lighting is the secret to beautiful model photography. Position your model near a large window with indirect daylight, or use artificial light with a softbox or diffuser. Avoid direct flash and harsh shadows that wash out details.
Natural light works best. A large north-facing window provides beautiful, even light without harsh contrasts. With southern light, use a white curtain or diffusion cloth to soften the light. Overcast days are perfect for model photography because clouds act as a natural softbox.
For artificial light, dimmable LED panels are ideal. You can see exactly how the light falls and make adjustments easily. Position the main light at a 45-degree angle to your model. A second, weaker light source on the other side fills in shadows without creating new ones.
Ring lights work well for close-ups of details, but can create a flat effect with larger models. Combine a ring light with side lighting for more dimension. 60×60 cm softboxes are perfect for most model photography projects.
Watch out for reflections on glossy surfaces. Use a polarising filter to reduce unwanted reflections, or change your position relative to the model. Matte surfaces are easier to photograph than high-gloss finishes.
Which composition techniques make your model photos more interesting?
The rule of thirds works excellently for model photography. Don’t place your model in the centre, but on one of the imaginary lines. Photograph from different angles and use foreground elements to create depth in your composition.
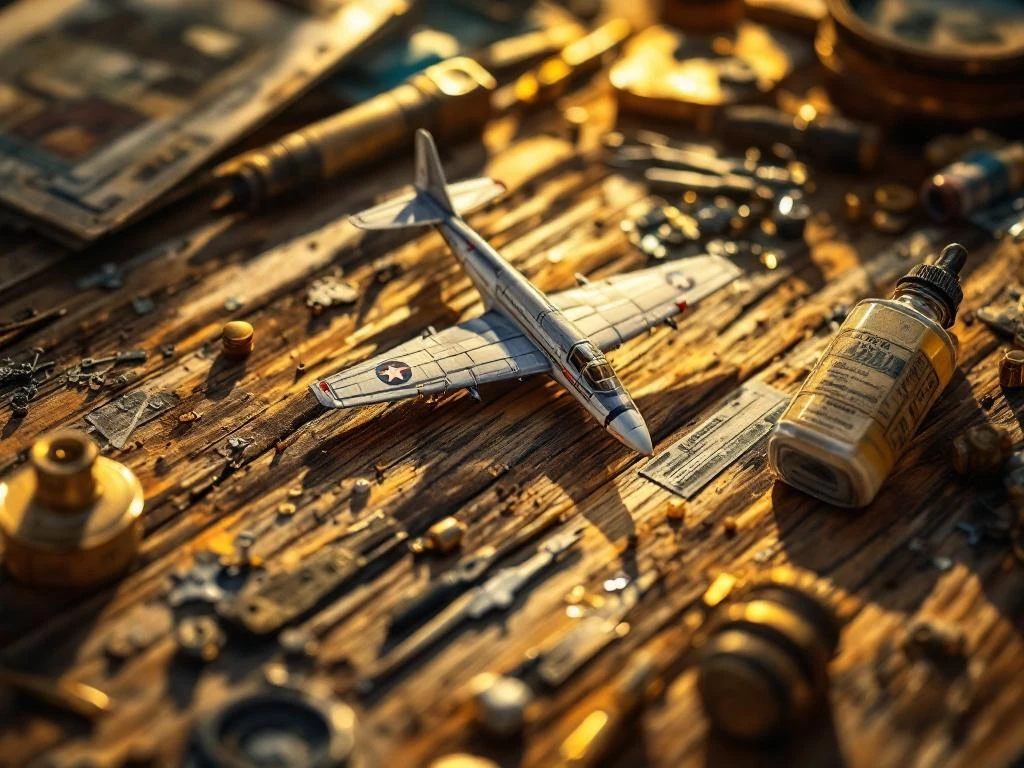
Vary your perspectives for exciting photos. A low angle makes your model more imposing, while a high angle works well for overview shots. Get close for detail shots of interesting parts like cockpits, engines, or textures.
The background determines your photo’s mood. A neutral background lets your model speak for itself, while a thematic background adds story. Use blur to make distracting elements disappear. A large piece of cardboard or fabric works as a simple studio wall.
Leading lines draw attention to your model. Use the lines of your model itself, or add elements like a runway for aircraft or rails for trains. Symmetry works well for frontal shots, but break it occasionally for more dynamism.
Think about scale relationships. Add small accessories that emphasise your model’s scale. Figures, vehicles, or landscape elements help viewers gauge size and make your photos more lively.
How do you edit model photos for the best results?
Basic editing significantly improves your model photos. Carefully adjust contrast and brightness, correct colours that are too warm or cold, and subtly sharpen details. Don’t overdo it, or your photos will look unnatural.
Start with global adjustments. Correct exposure if your photo is too dark or light. Slightly increase contrast to give your model more definition. You can lift shadows a bit to reveal details, but maintain natural contrasts.
Colour correction is important for realistic results. Adjust white balance if your photo is too yellow or blue. You can slightly increase saturation, but don’t overdo it. Selective colour correction helps improve specific colours of your model without affecting other colours.
For background removal, use selection tools. Start with automatic selection and refine manually. A soft transition prevents hard edges. Place your model on a new background that matches in perspective and lighting.
Apply sharpening last. Use ‘unsharp mask’ or similar tools with caution. Too much sharpening creates noise and unnatural edges. Focus on your model’s most important details and keep the background soft.
Where can you find the best model projects to photograph?
For photogenic model projects, look for detailed models with interesting shapes and colours. Aircraft, cars, and trains offer many photographic opportunities through their dynamic lines and technical details.
Our model range contains various categories perfect for photography. Aircraft models have beautiful lines and details like cockpits and landing gear. Car models offer interesting reflections and chrome parts. Building and landscape sets create entire stories in your photos.
Choose models that match your photographic goals. For close-up photography, models with lots of small details are ideal. For composition experiments, work with larger, simpler shapes. Models with different textures and materials provide more visual interest.
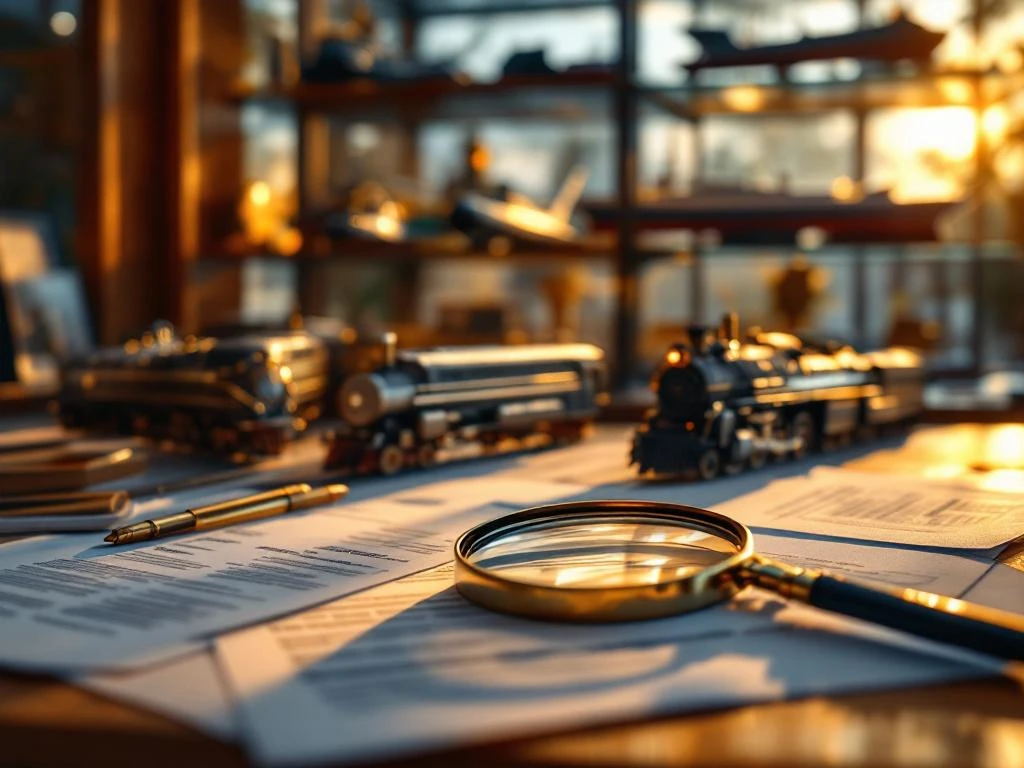
Build your collection strategically for variety in your photography. Combine different scales and subjects for interesting comparisons. Seasonal models like Christmas villages or summer scenes offer time-specific photo opportunities.
We regularly offer discounts on multiple items, which is ideal for expanding your photography collection. Check our discount rules for current offers. This way you can combine different models for varied photo sessions at an attractive price.
With these techniques, you’ll create photos that do justice to your model projects. Experiment with different settings and compositions to develop your own style. Good model photography takes practice, but the results are worth the effort.
Frequently Asked Questions
What equipment do you need at minimum to start with model photography?
You can start with just a smartphone or basic camera, a white sheet as background, and natural light from a large window. For better results, invest in a tripod (€20-50), a dimmable LED panel (€30-80), and a piece of white cardboard or foam board as reflector. This basic equipment already gives you professional results without a large investment.
How do you prevent small dust particles and fingerprints from showing in your photos?
Always clean your model before photographing with a soft brush or compressed air to remove dust. Wear cotton gloves to prevent fingerprints, especially on glossy models. Use a magnifying glass or your camera's live-view function to check details before shooting. A polarising filter also helps make small imperfections less visible.
What do you do when your model casts too large shadows despite soft lighting?
Place a second, weaker light source on the opposite side of your main light to fill in shadows. A white sheet of paper or foam board as reflector also works well and is cheaper. Increase the distance between your model and background to avoid harsh shadows there. With ring lights, you can lower the intensity and use additional side lighting.
How do you photograph glossy or metallic models without disturbing reflections?
Use diffused light from multiple directions to spread reflections instead of one bright light source. A polarising filter significantly reduces reflections - rotate it until you see the desired effect. Change your own position and that of the light sources until reflections are minimal. Sometimes you can actually use reflections as a stylistic element by positioning them deliberately.
What common mistakes should you avoid in model photography?
Never use your camera's built-in flash - this creates harsh shadows and overexposure. Avoid ISO values that are too high (above 800) as this creates noise that disturbs fine details. Don't only photograph from eye level - vary your perspectives for more interesting compositions. Make sure your background doesn't distract from your model with busy patterns or colours.
How do you create a series of photos of the same model for different purposes?
Plan your photo shoot in advance: start with overview shots, then move to detail shots of interesting parts, and finish with creative angles. Take photos for different formats (square for social media, landscape for websites). Vary your lighting for different moods - brighter for product photos, more dramatic for artistic images. Note your settings so you get consistent results.
Can you do model photography outdoors and what are the challenges?
Outdoor photography can give beautiful results, especially with soft clouds or during golden hour. Protect your model from wind with a windscreen and ensure a stable surface. Watch for changing light conditions and adjust your camera settings quickly. Avoid direct sunlight that creates harsh shadows, and use a reflector to fill in shadows. Always bring spare batteries as cold weather shortens battery life.
Table of contents
Much viewed


More blogs
What insurance options are available for valuable model building collections?

What are essential tips for model building competitions?