
-
 Dave Vinke
- Leestijd: 5 min
- Laatst geüpdatet: 29/08/2025

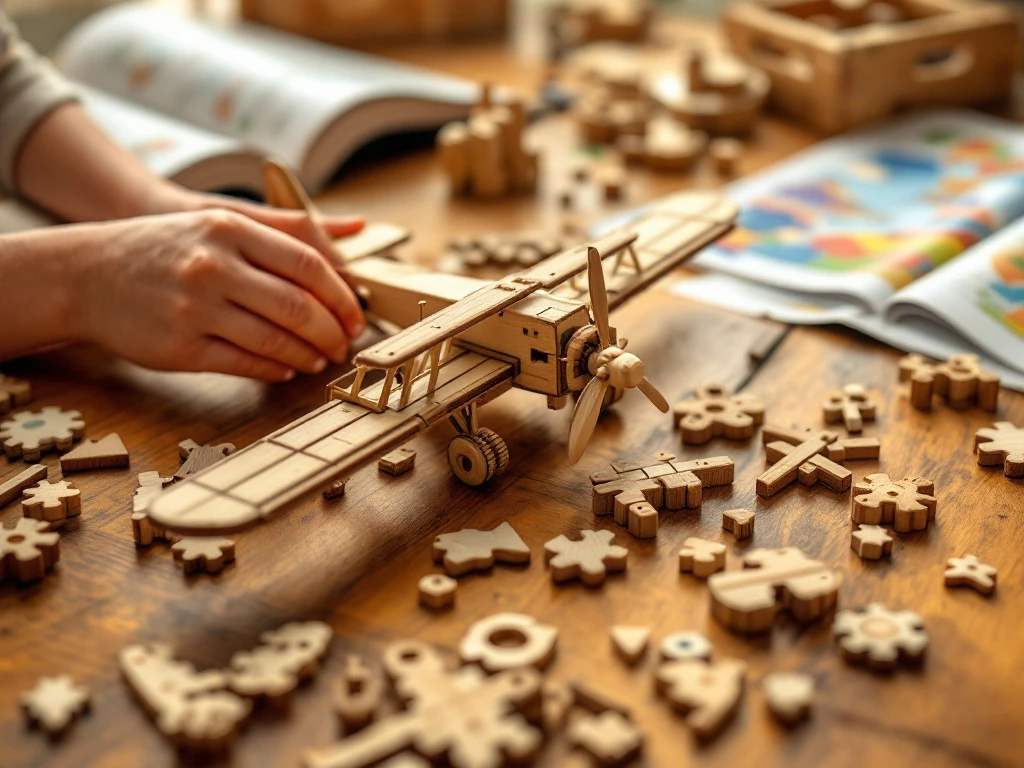
Realistic painting of aircraft models requires patience, the right materials and techniques. Start by gathering quality paint (acrylic for beginners, enamel for advanced modellers), fine brushes, primer and masking tape. Prepare your model by cleaning it thoroughly, light sanding and applying primer. Use thin paint layers, build up gradually and add weathering effects with washes and pigments for an authentic result. With practice and the right approach, you’ll transform plastic models into lifelike miniature aircraft.
What materials do you need for painting aircraft models?
For painting aircraft models, you need various materials that can make or break your results. The basics consist of paint, brushes, primer, thinner and various tools. Your choice depends on your experience and budget.
Paint types form the core of your equipment. Acrylic paint is water-based, dries quickly and cleans easily with water. Perfect for beginners because it’s less toxic and mistakes are easy to correct. Enamel paint gives a more durable result with better gloss, but requires good ventilation and turpentine for cleaning.
For brushes, choose synthetic bristles in various sizes. Size 0 to 2 for details, size 4 to 6 for larger areas. Invest in at least three good brushes – this saves frustration during painting.
| Material | Beginner | Advanced | Estimated price |
|---|---|---|---|
| Paint | Acrylic starter set | Enamel/lacquer | £12-40 |
| Brushes | Basic synthetic set | Kolinsky sable | £8-32 |
| Primer | Spray primer | Airbrush primer | £4-12 |
| Thinner | Water/acrylic medium | Specific thinners | £2-8 |
Other important tools include masking tape (Tamiya tape works excellently), tweezers for small parts, toothpicks for details and a cutting mat to work on. A good lamp with magnifying glass makes precision work much more comfortable.
How do you prepare an aircraft model for painting?
Good preparation determines 80% of your model’s final result. Start by thoroughly cleaning all parts with warm water and washing-up liquid to remove mould release agents and fingerprints.
First remove all flash and seam lines with a sharp hobby knife. Work carefully along the edges and then sand lightly with fine sandpaper (600-800 grit). Pay special attention to visible seams where parts join together, as these will stand out under paint.
Applying primer is a step many modellers skip, but it makes a world of difference. Primer ensures better paint adhesion and reveals imperfections you can still correct. Spray in thin coats at about 20cm distance in a well-ventilated area.
For masking, use special modelling tape that has less adhesive strength than regular tape. Press the edges down firmly with a toothpick to prevent paint bleeding. For curved lines, you can use thin tape strips that you carefully bend into shape.
What are the best techniques for realistic aircraft painting?
Realistic paint results are achieved by combining different techniques. The foundation is always working in thin layers, where each coat must dry completely before continuing.
Brush painting remains the most accessible technique. Thin your paint to milk consistency and apply several thin coats instead of one thick one. Always brush in the same direction and avoid overworking wet paint. For large areas, work from inside outwards.
Airbrushing gives more professional results but requires greater investment and practice. Start with low pressure (15-20 PSI) and build up gradually. Hold the airbrush perpendicular to the surface and move in smooth motions. Distance from the model determines how fine your spray pattern becomes.
Panel line accenting adds depth to your model. Use thinned dark paint or special panel line washes that flow into the grooves. Wipe away excess paint with a damp cloth in the direction of airflow for a natural effect.
For highlights and shadows, use the dry brushing technique. Remove almost all paint from your brush and stroke lightly over raised areas. This simulates natural wear and emphasises details without being overdone.
How do you add weathering and ageing to your model?
Weathering transforms a clean model into a used aircraft with history. Start subtly – you can always add more but removal is difficult. Focus on areas where natural wear occurs.
Create chipping with a sponge and two paint colours. First apply a dark colour to areas where paint would chip away (edges, flaps, places where crew walk). Then dab lightly with the base colour on top for a layered effect.
For rust and corrosion, use pigment powders applied with a dry brush. Concentrate on exhausts, hinges and places where moisture collects. Fix pigments with special fixer or matt varnish.
Oil stains and fluid leaks are made with thinned enamel paint. Let this run along panel lines from logical points like filler caps and hydraulic systems. Wipe away excess paint with a cloth dampened with turpentine, always in the direction of airflow.
Exhaust stains require subtlety. Use black and brown tints, applied very thinly with airbrush or dry brush. Build up slowly from the exhaust backwards, with intensity decreasing as you move further away.
Where can you find the best materials and inspiration for model building?
Good materials and inspiration can be found in various places. Online communities like Britmodeller, Hyperscale and local forums share knowledge, techniques and reference photos. YouTube channels from experienced modellers demonstrate techniques you can apply directly.
For historical accuracy, consult museums, veteran websites and specialist publications. Walk-around photos of real aircraft help you spot details that make your model more realistic. Notice discolourations, wear patterns and how different materials age.
Quality products make a difference in your final result. Brands like Vallejo, Tamiya and AK Interactive offer consistent quality. For specific weathering products, Ammo by Mig and Flory Models are popular among advanced modellers.
In the UK, you’ll find a growing selection of model building products with us. We’re expanding our range with quality brands that modellers appreciate. Also check our automatic discounts on multiple items, handy when ordering different paint colours or materials together.
Keep experimenting and learn from every build. Model building is a hobby where you improve with each project. Share your work online, ask for feedback and especially enjoy the creative process. With the right materials and techniques, you’ll build models you can be proud of.
Frequently Asked Questions
How do I prevent my paint from forming bubbles or streaks during application?
Bubbles usually occur from paint that's too thick or working in an environment that's too warm. Always thin your paint to milk-like consistency and work at room temperature (18-22°C). Use a drying retarder with acrylic paint to extend drying time and never brush over semi-dry paint. With airbrush use, excessive pressure can also cause spatter - start with 15 PSI and adjust as needed.
What's the best sequence for applying decals and weathering?
First apply a gloss coat, then place your decals with setting solution, and seal them with another coat of gloss. Then apply weathering such as panel washes and pigments. Finish with matt or satin varnish to protect everything and achieve the right gloss level. This sequence prevents decals from being damaged during the weathering process.
How long should I wait between different paint layers and when can I safely mask?
Acrylic paint is touch-dry after 20-30 minutes but needs 24 hours to fully cure. For enamel, allow 2-4 hours drying time and 48 hours curing. Only mask after complete curing to prevent paint damage. When in doubt? Test on an invisible area or use low-tack tape along the edges.
What mistakes do beginners make most often when painting cockpits and small details?
The biggest mistake is too much paint on the brush, causing details to disappear under thick paint layers. Use a 'dry' brush technique: wipe the brush almost dry on kitchen paper before painting details. Many beginners also forget to apply a wash in cockpits - a thin dark wash brings all buttons and switches to life without laborious individual painting.
Can I combine acrylic and enamel paint on the same model?
Yes, but only in the right order: enamel as base, then acrylic on top works fine. The reverse can cause enamel to attack the acrylic layer. Always use a protective coat between different paint types. For weathering, you can safely use enamel washes over acrylic base paint, but test first on an invisible spot.
How do I store opened paint pots so they don't dry out or clump?
Clean the rim of the pot with a damp cloth before closing - dried paint prevents proper sealing. Store paint at room temperature, not in the shed or garage. Turn pots upside down regularly to prevent pigment separation. For acrylic paint, you can add a drop of flow improver to extend shelf life.
Table of contents
Much viewed


More blogs
How do you develop motor skills with wooden building kits?
What do children learn from wooden building sets?
Are wooden building kits educational?