
-
 Dave Vinke
- Leestijd: 5 min
- Laatst geüpdatet: 15/10/2025

A wooden building kit is a complete set of components that allows you to build a model step by step, from simple airplanes to complex architectural models. It’s perfect for beginners because wood is forgiving with mistakes, requires no special tools, and provides a natural, satisfying feeling during construction. You’ll learn basic techniques like sawing, gluing, and sanding while creating a beautiful end result.
What is a wooden building kit and why is it perfect for beginners?
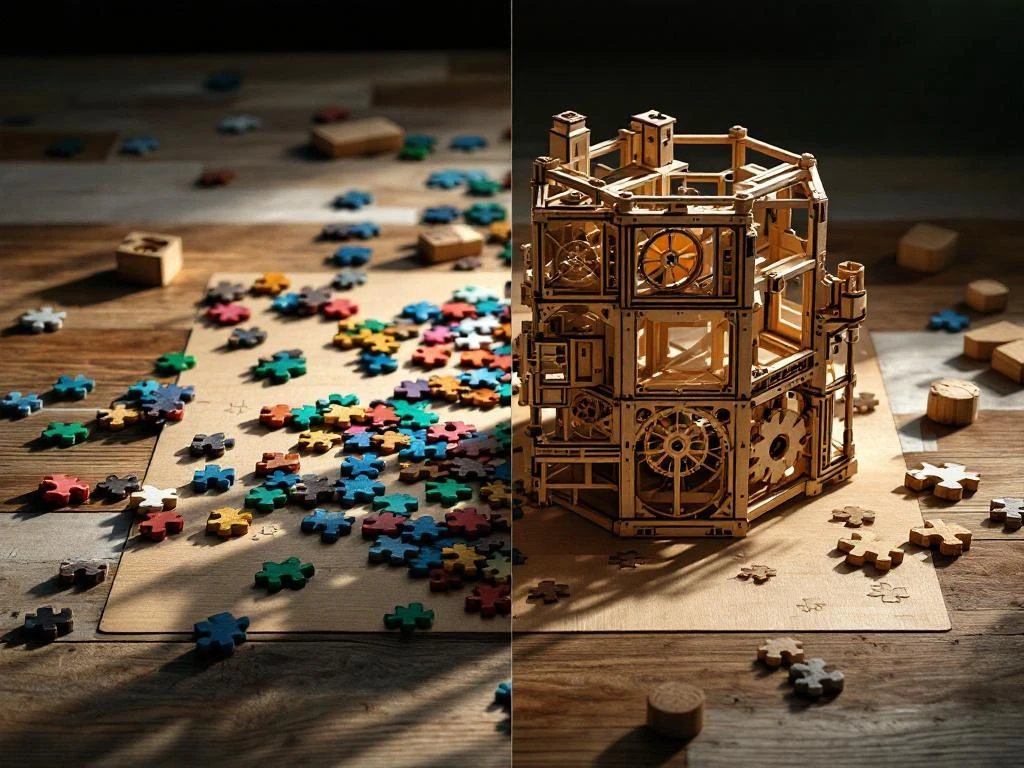
A wooden building kit consists of pre-cut wooden parts, glue, sandpaper, and a detailed instruction manual to create a specific model. The components are usually laser-cut or die-cut from plywood or solid wood, ensuring they fit together precisely without complex modifications.
Wood offers unique advantages over plastic or metal building kits. The material is naturally flexible, so small measurement errors aren’t catastrophic. If you damage a component, you can often repair it with wood glue or even replace it with a piece of wood from your workshop. Additionally, wood provides a warm, authentic appearance that plastic simply cannot match.
For beginners, wood is ideal because it’s forgiving. You can sand components if they don’t fit perfectly, and small imperfections often disappear after sanding and finishing. The material doesn’t splinter easily and is safe to work with, even for children under supervision.
From your first wooden building kit, you can expect to spend between 2-8 hours working, depending on complexity. You’ll develop a feel for the material, learn basic techniques, and experience the satisfaction of creating something with your own hands. The end result is a model you can proudly display or give as a gift.
What tools do you need to get started with wooden building kits?
For most wooden building kits, you only need basic tools: a craft knife or utility knife, sandpaper (120 and 240 grit), wood glue, and possibly a small hand saw. These tools are affordable and sufficient for most beginner projects.
The most important tool is a sharp craft knife for cleanly removing parts from the sheet. Replace the blade regularly for clean cuts. Wood glue is essential – choose a white glue that dries clear. Sandpaper helps smooth rough edges and prepare surfaces for finishing.
Optional tools for advanced builders include a small fret saw for modifications, an awl for pre-drilling holes, small clamps for securing during gluing, and brushes for applying stain or varnish. A cutting mat protects your work surface and extends the life of your knives.
You can purchase tools at hardware stores, hobby specialty shops, or online. Budget-friendly alternatives are often available at discount stores. Start with basic tools and expand your collection as you gain experience and tackle more complex projects.
How do you choose the right wooden building kit for your skill level?
Choose your first wooden building kit based on the number of parts, complexity of connections, and estimated build time. Start with kits containing 20-50 parts that require 2-4 hours of build time, such as simple airplanes, cars, or animals.
Difficulty levels are usually indicated with stars or levels. One star means suitable for beginners, two stars for light experience, and three or more stars for advanced builders. Pay attention to connection techniques – simple peg-and-hole connections are easier than complex hinges or moving parts.
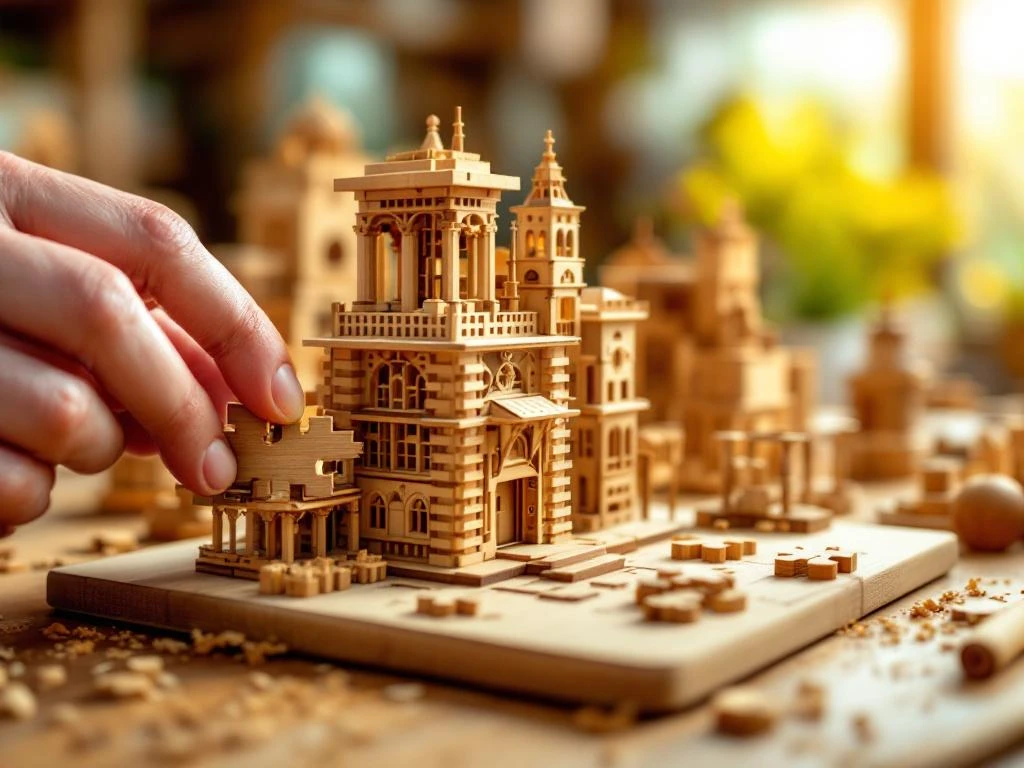
Popular beginner-friendly models include classic aircraft like the Fokker Dr.I, simple cars, windmills, or animal models. These have clear instructions, few parts, and a satisfying end result. Architectural models of famous buildings are also suitable, provided they don’t have too many small details.
As a beginner, avoid kits with moving parts, complex mechanisms, or more than 100 components. Models with very small parts (less than 1 cm) can also be frustrating for beginners. Choose a simple kit you can successfully complete rather than a complex model that might discourage you.
What basic techniques should you know before starting?
The three fundamental techniques for wooden building kits are clean sawing, proper gluing, and even sanding. Always saw on the outside of the line, apply glue sparingly, and sand in the direction of the wood grain for the best results.
When sawing, use short, controlled movements and let the saw do the work without forcing it. For gluing, apply a thin, even layer to both surfaces and press the parts firmly together for 30-60 seconds. Remove excess glue immediately with a damp cloth.
Always sand with the wood grain, starting with coarse sandpaper (120 grit) and finishing with fine (240 grit). This prevents scratches across the grain that remain visible after finishing. Always dust thoroughly before applying stain or varnish.
Important safety guidelines include: work with sharp tools (dull tools are more dangerous), always cut away from your body, wear a dust mask during intensive sanding, and ensure good ventilation when using glue and finishing products.
Common mistakes include using too much glue (which causes stains), forcing parts that don’t fit, and working too quickly, missing important details. Take your time, read instructions carefully, and always test fit before gluing.
For a successful end result, organize your workspace, lay out all parts in order, and work step by step according to the manual. A good finish with stain or varnish protects the wood and gives a professional appearance. In model building projects, patience is the key to success, and wooden building kits offer the perfect introduction to this rewarding hobby.
Frequently Asked Questions
How long does it take before I'm skilled enough to tackle more complex wooden building kits?
After 3-5 successful beginner projects, you usually have enough experience for 2-star difficulty models. The transition to more complex kits depends on your patience and precision - some are ready for more challenging projects after a month, others take several months.
What should I do if a part of my wooden building kit breaks during construction?
Small breaks can often be repaired with wood glue - press the parts firmly together and let dry for 24 hours. For major damage, you can make a replacement part from a piece of wood with similar thickness, or contact the manufacturer for a replacement part.
Can I build wooden kits outdoors or do I need a special workspace?
A kitchen table with good lighting is sufficient for most wooden building kits. Use a cutting mat to protect your work surface and ensure good ventilation when using glue. Outdoor building is possible in dry weather, but avoid wind that can blow away dust and small parts.
How do I best store my completed wooden model to prevent damage?
Store completed models in a dry place away from direct sunlight to prevent discoloration and warping. A display case or shelf protects against dust and accidental contact. For valuable models, you can use a transparent acrylic dome.
Is it possible to personalize wooden building kits with custom colors or details?
Absolutely! After completion, you can paint your model with acrylic paint, use stain for a natural wood color, or add small details like decals or hand-painted accents. Always start with a primer for an even finish and let each layer dry thoroughly.
What common mistakes can I avoid with my first wooden building kit?
The biggest mistakes are: forcing parts that don't fit (check dry fit first), using too much glue (less is more), and skipping instructions out of impatience. Always read the complete manual before starting and organize all parts systematically.
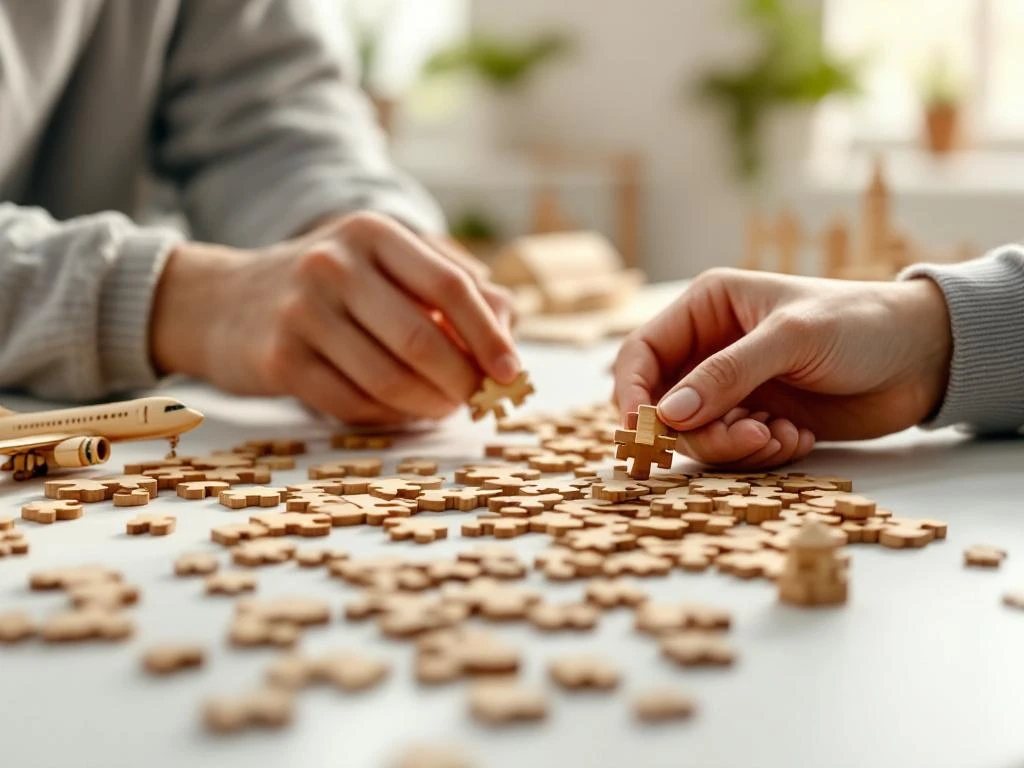
Are wooden building kits suitable as an activity for parents and children together?
Wooden building kits are excellent for parent-child activities from about age 8. Choose simple models with large parts, let children do the safe tasks like sanding and gluing, while adults handle the cutting work. It develops patience, concentration, and creates a wonderful sense of collaboration.
Table of contents
Much viewed


More blogs