
-
 Dave Vinke
- Leestijd: 5 min
- Laatst geüpdatet: 15/10/2025

Yes, you can excellently personalize wooden building kits using various techniques such as engraving, painting, and adding personal details. This personalization makes each wooden building kit unique and perfect for gifts or personal projects. Most wooden model building kits offer flat surfaces that are ideal for different personalization methods, from simple name engravings to complex decorative designs.
What are the most popular ways to personalize wooden building kits?
The most popular personalization methods for wooden building kits are wood burning, painting, engraving, and decoupage. Wood burning provides a professional appearance and is permanent, while painting offers more colorful possibilities. Engraving creates precise details and decoupage allows you to add patterns and images.
Wood burning is often chosen because it gives a natural, rustic appearance that complements wood beautifully. You can burn names, dates, or small images without damaging the wood’s structure. This technique works best on smooth, flat surfaces of the building kit.
Painting offers the most creative freedom. You can use acrylic paint for vibrant colors or wood stain for a more natural look. Many people combine painting with other techniques, such as engraving first and then coloring the engraved lines.
Decoupage is perfect for adding complex patterns or images. You apply decorative paper or photos to the wood and protect it with a clear varnish. This method is ideal for beginners because it requires fewer technical skills.
What tools do you need for personalizing wooden model building?
For personalizing wooden model building, you need a wood burning pen, fine brushes, acrylic paint or wood stain, sandpaper, and protective varnish. Additionally, stencils, pencils for preliminary sketches, and a sharp knife are useful. The exact tools depend on your chosen personalization technique.
A wood burning pen is essential for burning text and simple designs. Choose a model with different tips for variation in line thickness. Ensure good ventilation during use and practice first on a piece of scrap wood.
For painting, synthetic brushes in various thicknesses are ideal. Flat brushes for large areas and round brushes for details and lines. Acrylic paint dries quickly and provides bright colors, while wood stain preserves the natural wood grain.
Sandpaper (220-400 grit) is needed to smooth surfaces for a professional result. Always start by sanding before beginning personalization. Stencils help create straight letters and symmetrical patterns, especially useful for beginners.
Protective varnish or lacquer protects your personalization from wear. Use matte varnish for a natural appearance or glossy varnish for more protection and a more luxurious look.
How can you apply text and images to wooden building kits?
You apply text and images by first making a sketch with pencil, then burning or engraving the lines, and optionally coloring them. For transfers, use carbon paper to transfer designs. Stencils ensure straight letters and symmetrical patterns without prior knowledge of hand lettering.
Always start with a light pencil sketch on the sanded wood surface. This allows you to correct mistakes before applying permanent techniques. For text, you can use letter stencils or draw letters freehand if you have experience.
When wood burning, follow the pencil lines slowly and evenly. Hold the burning pen perpendicular to the wood and move in one smooth motion. Apply consistent pressure to achieve uniform lines.
For images, you can use transfer paper. Place the design on the wood with carbon paper between them and trace the lines. This provides an accurate transfer that you can then work on with a burning pen or paint.
Manual drawing requires more practice but gives the most personal character. Start with simple shapes and letters before attempting more complex designs. Use a ruler for straight lines and a compass for circles.
Which wooden building kits are best suited for personalization?
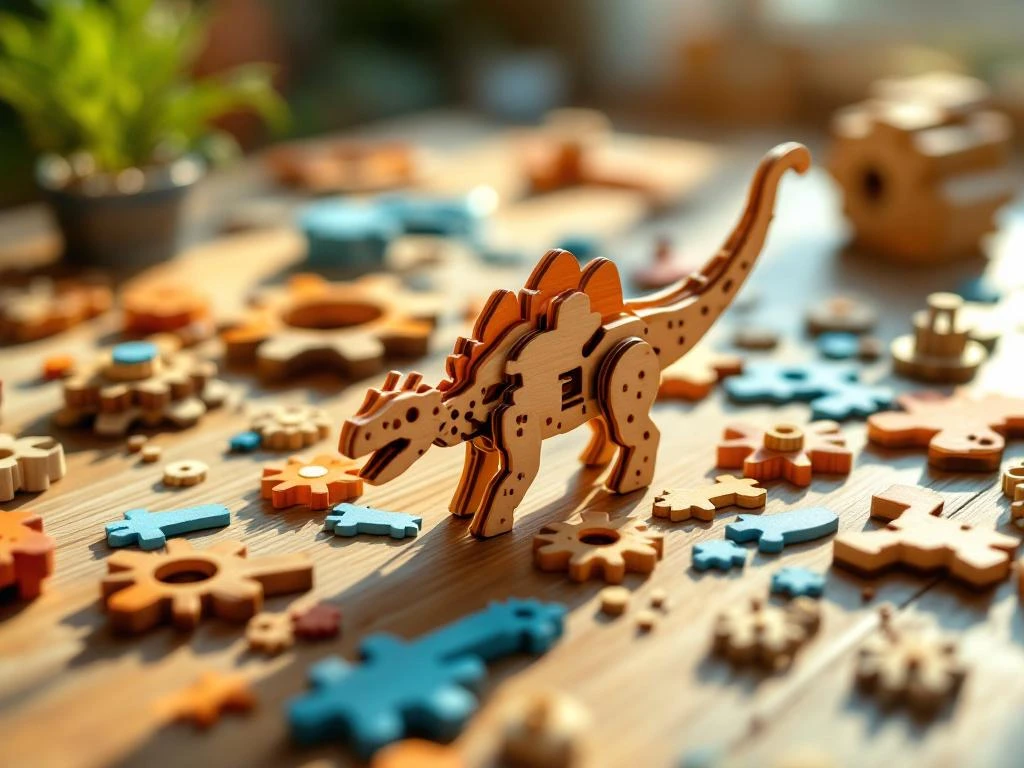
Wooden building kits with large, flat surfaces are best suited for personalization. Birdhouses, jewelry boxes, picture frames, and simple architectural models offer ideal spaces for text and decorations. Avoid highly detailed models with small parts for your first personalization projects.
Building kits with smooth sides or lid surfaces are perfect for beginners. These provide enough space for names, dates, or small images without having to work around complex details. Think of memory boxes, pen holders, or decorative houses.
Consider the wood type of the building kit. Soft wood types like poplar and pine are easier to work with than hard types like beech. For wood burning, light wood types are ideal because the contrast is clearly visible.
Consider the function of the final product. A model building project that is frequently handled needs more protection than a decorative object. For functional items, choose wooden building kits with sturdy construction that can withstand regular use.
Architectural models with flat facades offer excellent opportunities for adding details like windows, doors, or decorative elements. These projects combine the building experience with creative personalization for a completely unique result.
Frequently Asked Questions
How long should I wait between different personalization steps?
Wait at least 2-4 hours between applying paint and applying a protective varnish. With wood burning, you can continue immediately, but let the wood cool completely first. For decoupage, wait until the glue is completely dry, usually 24 hours, before applying the protective layer.
What do you do if you make a mistake during personalization?
With wood burning, mistakes are difficult to repair, but you can incorporate them into the design or lightly sand them away with fine sandpaper. Paint mistakes can be sanded away and repainted. With pencil sketches, use a soft eraser to gently remove lines without damaging the wood.
Can I combine LED lighting with personalized wooden building kits?
Yes, LED strips or small LED lights can be excellently integrated into personalized wooden building kits. Carefully drill holes for the wiring and plan the placement before starting personalization. Use warm white LEDs for a cozy appearance that complements the natural wood color well.
Which paint lasts longest on wooden building kits?
High-quality acrylic paint, finished with a protective varnish, lasts the longest. For outdoor use, choose special exterior paint that is UV-resistant. Wood stain penetrates deeper into the wood and is therefore more durable than paint that only sits on the surface, but offers less color choice.
How do you make straight lines without stencils?
Use a ruler and pencil to first draw light guide lines. Apply masking tape along the desired line and paint or burn along the edge. Remove the tape immediately after working for sharp edges. For long lines, you can stretch a thread as a guide for your burning pen or brush.
Is it possible to print photos on wooden building kits?
Yes, you can transfer photos to wood with special transfer paper for inkjet printers or by laminating photos and transferring them with an iron. Another option is using Mod Podge to stick printed photos to the wood. Always ensure a smooth surface and protect the result with clear varnish.
How do you maintain personalized wooden building kits?
Dust regularly with a dry cloth and avoid direct sunlight to prevent discoloration. For deeper cleaning, use a slightly damp cloth, but let the wood dry thoroughly. Apply a new layer of protective varnish annually for optimal protection, especially for frequently used items like jewelry boxes.
Table of contents
Much viewed


More blogs