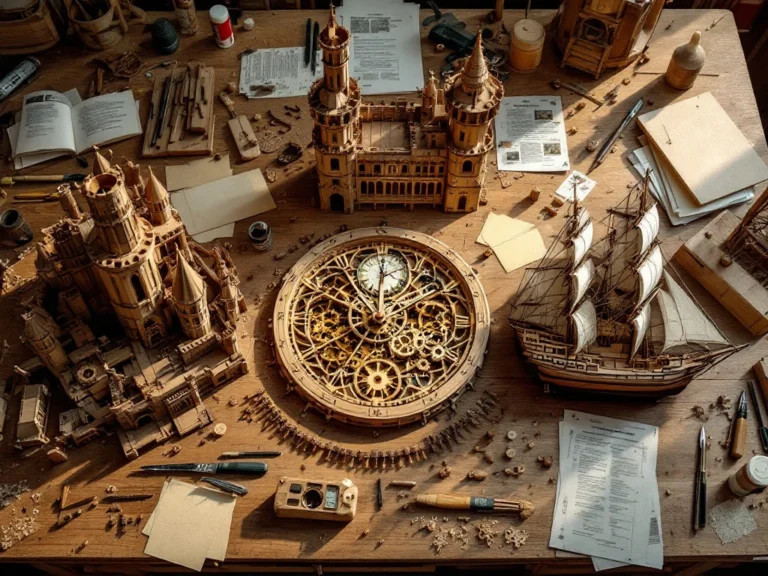
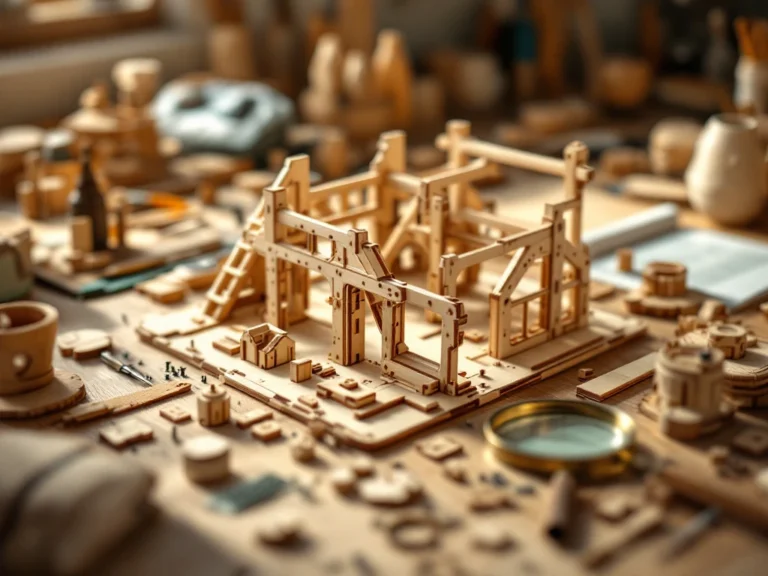
The basic equipment consists of sandpaper in various grits, wood glue, precision knives, small saws, and brushes for finishing. These tools help ensure that the parts fit precisely and give your project a professional look.
Which basic tools are absolutely essential for wooden model kits?
Every wooden model kit requires five essential tools: sandpaper (grits 220–400), wood glue, a sharp hobby knife, small files, and fine brushes. This basic toolkit lets you carry out all the standard tasks needed for a successful project.
Sandpaper is crucial because wooden parts often have small imperfections that need to be smoothed out. Start with coarse-grit paper (220) to correct the shape, then move on to fine-grit paper (400) for a smooth finish. Wood glue is specially designed for wood-to-wood joints and dries stronger than ordinary all-purpose glue.
A good hobby knife with replaceable blades helps you cut small parts precisely and remove glue residue. Small files are essential for adjusting holes and grooves that are just a little too tight. Thin paintbrushes allow you to apply paint precisely in small corners that rollers can't reach.
Other useful tools include a small metal ruler, tweezers for handling small parts, and a hobby saw for any adjustments. Adding these to your toolbox makes the work considerably easier and more precise.
What is the difference between tools for beginners and advanced builders of wooden models?
Beginners can get started just fine with good-quality basic tools, while experienced model builders invest in precision tools such as mini drills, airbrush systems, and professional sanding blocks. The main differences are precision, speed, and the refinement of the finished result.
As a beginner, focus on learning basic techniques with simple, reliable tools. A standard hobby knife, hand sanding paper and ordinary paintbrushes are enough to achieve great results. The initial investment is modest while you discover whether model building is really the hobby for you.
Experienced hobbyists upgrade to specialized tools that offer more control and better results. A mini drill with various bits makes perfect holes for details. Professional sanding blocks provide a more even finish than sanding by hand. Airbrush systems create flawless coats of paint without brush strokes.
The right time to upgrade is when your basic tools start limiting what you want to achieve. If you find that hand-sanding is too rough for fine details, or that brushes leave streaks where you don't want them, it's time for better tools. Invest gradually and choose quality over quantity.

How do you choose the right glue and finishing materials for your wooden model kit?
For wooden model kits, use PVA wood glue for structural joints and acrylic paint for the finish. PVA glue dries clear, is strong, and is easy to work with. Acrylic paint provides good coverage, dries quickly, and is easy to clean up with water while you work.
When choosing glue, there are several types for specific applications. PVA wood glue is ideal for most joints because it penetrates deeply into the wood and forms a strong bond. For parts that may need to be taken apart later, use reversible glue. Cyanoacrylate (superglue) is useful for quick, small repairs, but is less suitable for large surfaces.
The products you choose for the paint finish will determine the final result. Water-based acrylic paint is easy to use and suitable for most projects. Enamel paint gives a harder, glossier finish but is more difficult to work with. Wood stain adds color while leaving the grain visible.
Lacquers and varnishes protect your finished project from wear and moisture. Matte lacquer gives it a natural look, while high-gloss lacquer creates a luxurious, mirror-like finish. Always apply several thin coats instead of one thick coat for the best results.
What common mistakes can you avoid when choosing model-building tools?
The biggest mistake is buying the cheapest tools straight away without considering quality. Cheap craft knives quickly become blunt, sandpaper falls apart, and poor-quality brushes shed bristles. It's better to invest in a few good basic tools than in lots of poor-quality ones.
Many beginners buy too many different tools at once without knowing what they really need. Start with the essentials and gradually expand your collection as you gain experience. This prevents unnecessary spending and a cluttered workspace full of unused items.
Another common mistake is ignoring ergonomics and comfort. Tools that are uncomfortable to hold cause you to tire quickly and work less accurately. Try out tools before buying them whenever possible, especially more expensive ones.
Many hobbyists also forget the importance of proper storage and maintenance. Tools that are stored carelessly wear out more quickly and can be hard to find when you need them. Invest in a good toolbox or tool chest to keep everything organized and in good condition.
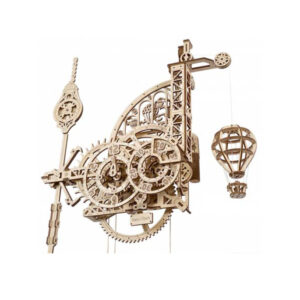
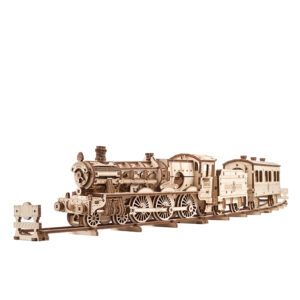
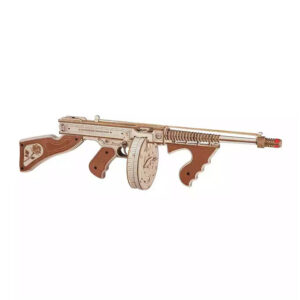
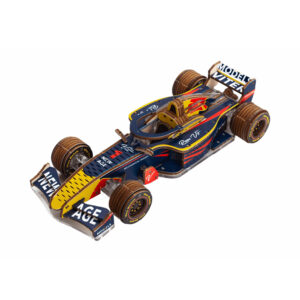
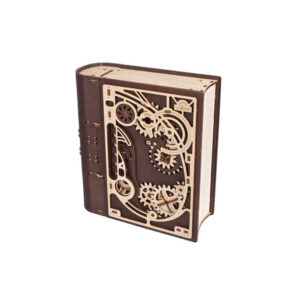
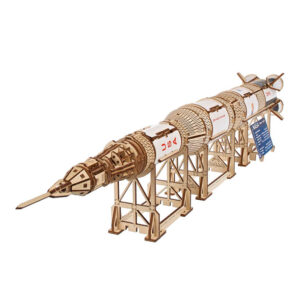
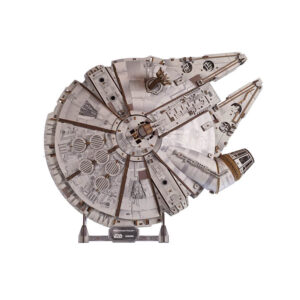
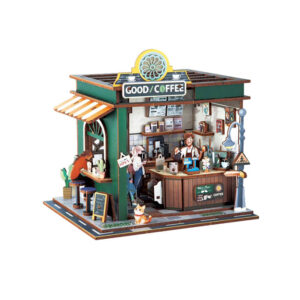
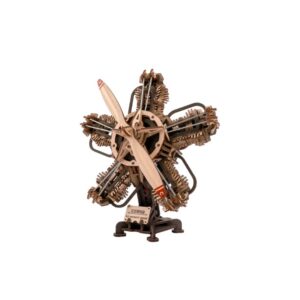
As you expand your hobby to include more complex projects, you may discover the extensive range of model building products available. For projects specifically involving wood, you can find specialized wooden model kits that perfectly match your growing skills and tool collection.
Frequently Asked Questions
How often should I maintain and clean my tools?
Clean your tools after every use to remove glue residue and paint splatters. Sharpen hobby knife blades when they become dull, replace sandpaper as soon as it becomes smooth, and wash paintbrushes immediately after use with warm water (for acrylic paint) or white spirit (for enamel paint). Good maintenance significantly extends their lifespan.
What should I do if parts of my kit don't fit together perfectly?
Always start by sanding gently with fine-grit sandpaper (400) to improve the fit. Use small files for holes that are too tight and a craft knife to remove small protrusions. Never force parts together—it could cause them to break. A good fit is essential for strong glued joints.
Can I use regular all-purpose glue instead of special wood glue?
All-purpose glue is less suitable because it does not penetrate deeply into the wood and forms a weaker bond. PVA wood glue is specifically designed for wood-to-wood joints, dries clear, and creates flexible yet strong bonds. For the best results and durability, wood glue is worth the investment.
How can I prevent paint from bleeding into small details and corners?
Use fine brushes and apply several very thin coats instead of one thick coat. Let each coat dry completely before applying the next. For extra control, you can use masking tape to create sharp lines. For multicolored projects, always work from light to dark.
What kind of workspace and lighting do I need for precise model building?
Set up a stable, flat workspace at a comfortable height with good, shadow-free lighting. An LED desk lamp provides bright, white light that renders colors naturally. Put down a cutting mat to protect your work surface, and make sure the area is well ventilated when working with glue and paint.
What is the best way to store opened glue and paint?
Always seal tubes and jars tightly and store them at room temperature, away from direct sunlight. Clean the rims of jars before closing them to prevent the contents from drying out. PVA glue can keep for months, but check it regularly for signs of drying out. If acrylic paint gets too thick, you can thin it with a few drops of water.