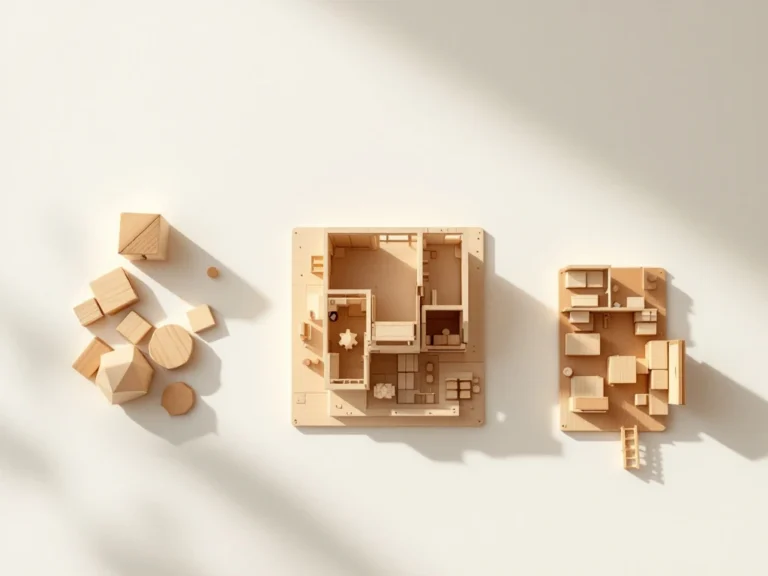
The complexity depends on the number of parts, the precision required, the construction techniques, and your experience with tools. Most wooden model kits are labeled with difficulty levels to help you make the right choice.
What actually determines the difficulty level of wooden model kits?
The complexity of a wooden model kit is determined by four main factors: the number of parts, the precision of the fit, the construction techniques and the skills required. Simple kits usually have 20–50 parts with generous tolerances, while advanced models can contain hundreds of precisely cut pieces.
The number of parts is often the most visible indicator of complexity. Beginner models are limited to basic elements that are easy to identify and assemble. Advanced kits introduce small detail parts, moving mechanisms and intricate joints that require precise assembly.
The precision of the parts determines how well they fit together without adjustments. High-quality model kits have laser-cut parts with tight tolerances, allowing them to fit together smoothly. Cheaper versions often need sanding, filing, or gluing to achieve a good fit.
Complex construction techniques such as mortise-and-tenon joints, moving parts or curved elements significantly increase the difficulty level. These techniques require an understanding of woodworking and sometimes special tools to achieve a successful result.
What different levels are there in wooden model building?
Wooden model building is generally divided into four levels: beginner, intermediate, advanced and expert. Each level requires specific skills and a time commitment. Beginner projects are designed to take 2-8 hours, while expert models can take months.
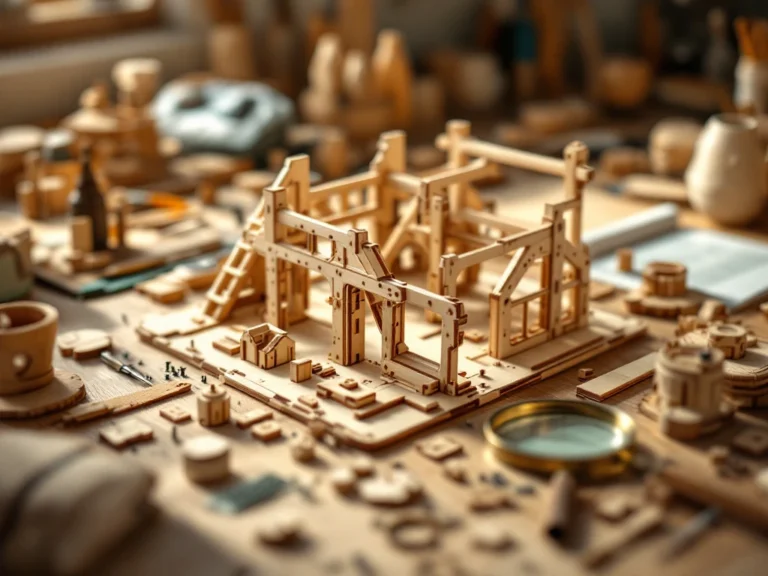
Beginner-level kits contain 20–75 parts, with clear instructions and pre-drilled holes. These projects require only basic tools such as sandpaper and wood glue. Examples include simple airplane models, basic buildings or decorative objects that you can complete in a weekend.
Intermediate level kits have more parts (75-200 pieces) and finer details. You may need a craft knife and small files for adjustments. These projects take 10-30 hours and require more patience and precision when assembling smaller parts.
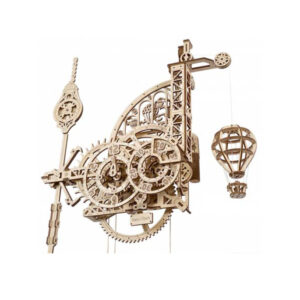
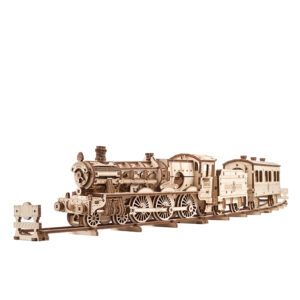
Advanced level kits contain 200–500 parts and feature complex mechanisms or highly detailed structures. They require experience with various woodworking techniques and can take 40–100 hours to complete. Examples include working clocks, detailed ship models and mechanical puzzles.
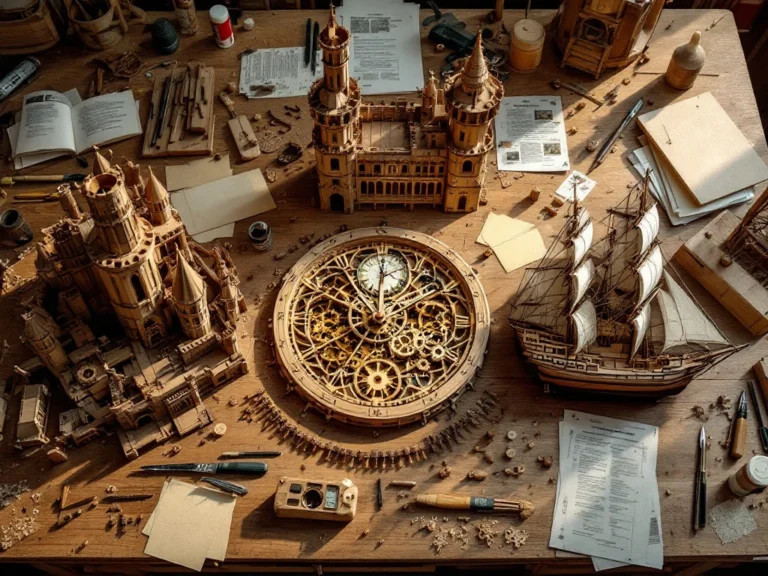
Expert level projects are for experienced model builders who want to create challenging, museum-quality models. They may contain 500+ parts and require months of precise work, including custom modifications and refined finishing techniques.



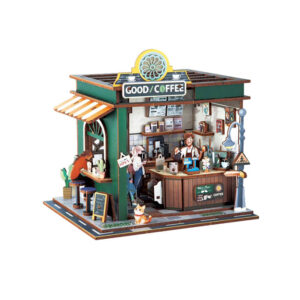

How long does it take to complete a wooden construction kit?
The build time for wooden model kits ranges from 2 hours for simple beginner projects to more than 200 hours for complex expert models. Your experience, the time available for each session and the level of detail you aim for significantly affect the total time required.
For beginner projects, allow 2–8 hours of total building time. These models are designed to be completed in a few sessions, making them ideal as weekend projects or as an introduction to the hobby. Most parts fit together easily without extensive adjustments.
Intermediate projects usually require 10-30 hours of work, spread over several weeks. Plan for about 2-3 hours per session to stay focused without getting tired. These projects include more detailed work that requires careful attention.
Advanced model kits take 40–100 hours to complete and can take 2–6 months with regular building sessions. Their complexity often calls for breaks to solve problems or perfect techniques. Many builders work in stages, completing sections before moving on.
Expert-level projects can take 200+ hours and are often long-term projects that last a year or more. These models require not only building time, but also research, planning, and sometimes developing new skills along the way.
What tools and skills do you need for wooden model kits?
Most wooden model kits require only basic tools: sandpaper in different grits, wood glue, a hobby knife, and small files. Advanced projects may require specialist tools such as precision saws, drills, or fine measuring instruments for the best results.
Essential basic tools include sandpaper (grits 120, 220 and 400), white wood glue, a sharp craft knife and small files for adjustments. A cutting mat protects your work surface, and tweezers help you handle small parts. This set is sufficient for 80% of all beginner projects.
For advanced projects, additional tools are useful: a small precision saw, a mini drill with various bits, a caliper for accurate measurements, and different types of glue (such as epoxy for strong bonds). A magnifying glass can help with very fine detail work.
The most important basic skills are patience, accuracy, and a willingness to follow instructions carefully. You'll quickly learn how to remove parts from their sheets without damaging them, how to apply the right amount of glue for strong joints, and how to make small adjustments for a perfect fit.
For beginners, it’s important to start with simple projects to build confidence. First, practice sanding parts, applying glue in thin layers and patiently waiting for it to dry. These fundamental techniques form the basis for all more complex model-building projects. As you gain experience, you can tackle more challenging wooden model kits that require more advanced techniques.
Frequently Asked Questions
How do I know if a wooden building kit is suitable for my skill level?
Always check the difficulty level shown on the packaging and compare it with your experience. If you’re a complete beginner, start with projects containing 20–50 pieces and an indicated build time of 2–8 hours. Read online reviews from other builders to get a realistic idea of the actual difficulty and any challenges.
What should I do if the pieces don't fit properly while I'm assembling the puzzle?
First, try sanding gently with fine-grit sandpaper (220–400 grit) to improve the fit. Check that you’re assembling the parts in the correct direction according to the instructions. For stubborn problems, you can lightly dampen the parts to make the wood more flexible, but do so sparingly to prevent cracking.
Can I build a wooden model kit without any woodworking experience?
Absolutely! Beginner projects are specifically designed for people with no prior experience. Start with a simple model to learn basic techniques such as removing parts from sheets, sanding and gluing. Most kits include detailed step-by-step instructions that guide you through the entire process.
How can I prevent my wooden model from breaking while I’m building it?
Always work slowly and avoid using excessive force when joining parts. Allow the glue to dry completely for the recommended amount of time before continuing. Support large sections while they dry and keep your project on a stable, flat surface between building sessions.
Which glue works best for wooden building kits?
White wood glue (PVA) is ideal for most wooden model kits because it dries strong, dries transparent and gives you enough working time. For small, precise joints, glue with a fine applicator tip is useful. Avoid superglue unless specifically recommended, as it dries too quickly and is difficult to correct.
How do I care for and store my completed wooden model?
Protect your model from direct sunlight and extreme temperature fluctuations to prevent warping. Dust it regularly with a soft brush or lint-free cloth. For long-lasting protection, you can apply a thin coat of matte varnish, but test it first on an inconspicuous area to preserve the natural wood color.
What are common mistakes when building wooden models?
The most common mistakes are using too much glue so that it shows, forcing parts that don't fit, and working too quickly without reading the instructions carefully. Always take the time to understand each step before you begin, and double-check before permanently gluing parts together.